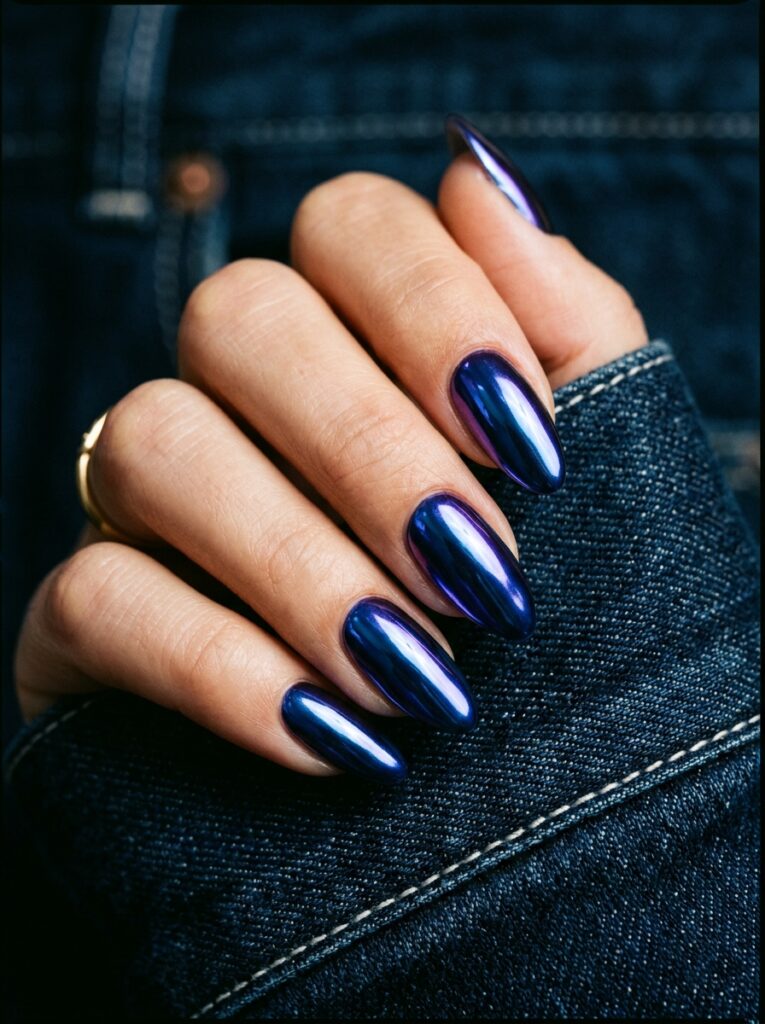
Think stripes need a perfectly steady hand? Not really. With a thin striping brush and a little tape, almost every design here is doable, and a crisp line always looks more intentional than swirls or dots ever could.
So whether you want something barely-there or bold and graphic, here are 21 striped nail designs to bring to your next appointment!
This website may contain affiliate links. I may earn a small commission if you purchase through the links, at no extra cost to you.
The Secret Is in the Direction
Stripes do more than decorate. The way they run actually changes the shape of your nails, which is why the same design can flatter one hand and shorten another. Here’s how each direction behaves:
- Vertical lines: lengthen the nail bed, so they’re perfect for short or wide nails
- Horizontal lines: shorten the nail visually, so save them for medium and long shapes
- Diagonal lines: add movement and still lengthen, making them the most flattering all-rounder
- Wide bands: feel bold and graphic, and need zero precision to pull off
Thickness matters, too. Fine pinstripes look tailored and elegant, while chunky bands feel playful and retro. Color contrast changes the mood as well, with black on nude feeling graphic and gold on burgundy feeling luxe.
For crisp results, let every layer dry completely before adding the next, and seal everything with one smooth sweep of top coat rather than dragging back and forth. Striping tape is your best friend if freehand lines make you nervous!
Minimal Single Stripes
1. The Thin Line
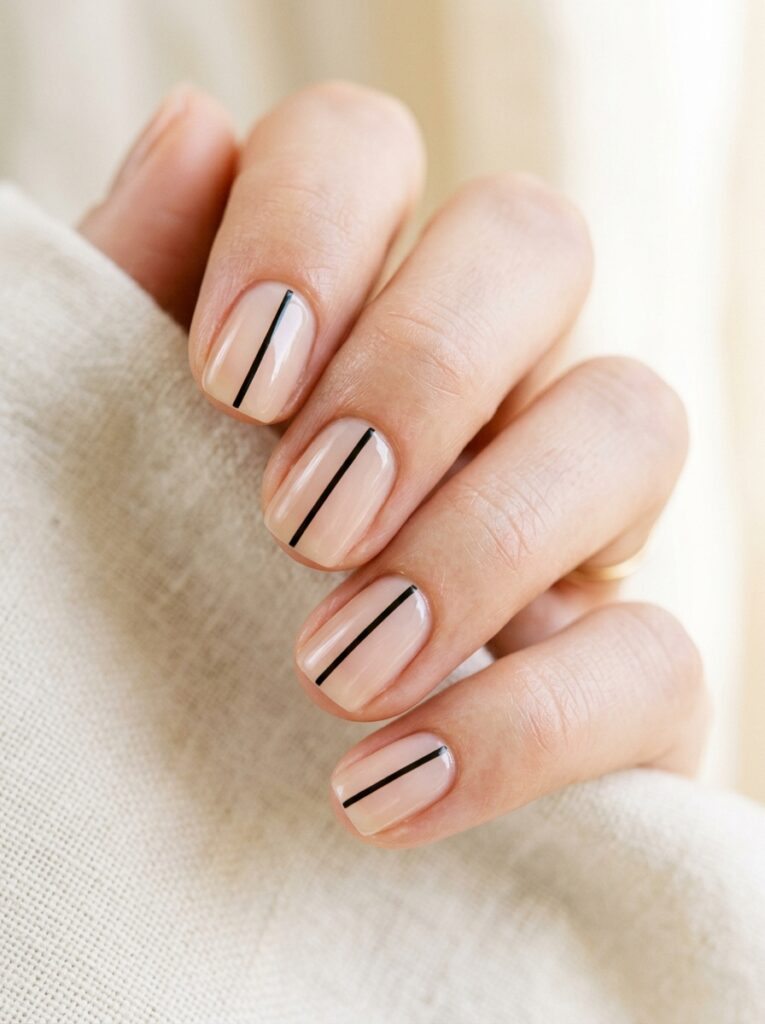
Barely-there but so chic, a single thin vertical stripe down the center of each nail over a soft milky base is the perfect place to start. Black or navy gives the sharpest contrast, and the vertical line makes short nails look longer instantly!
2. The Asymmetrical Pattern
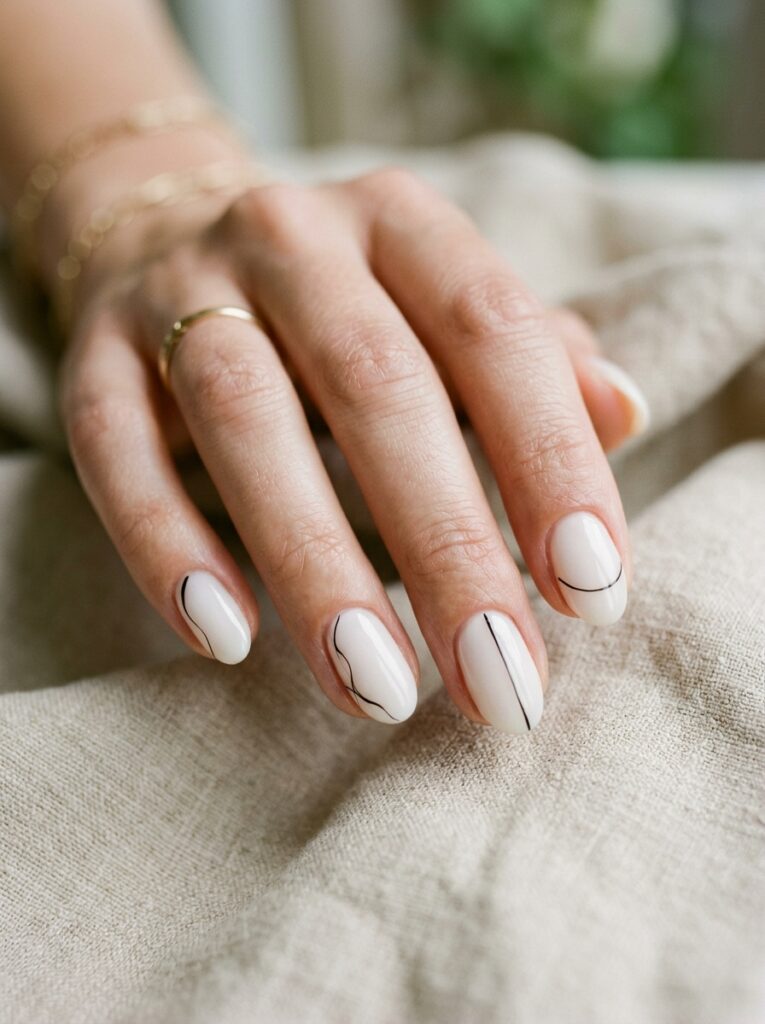
Want minimal with a modern twist? Scatter a few asymmetrical stripes at different angles instead of centering one line. The formula:
- A sheer nude or milky base
- Thin lines in black or deep brown
- Different angles on every nail
- A glossy top coat
No two nails match, and that’s exactly the point!
3. The Cuticle Line
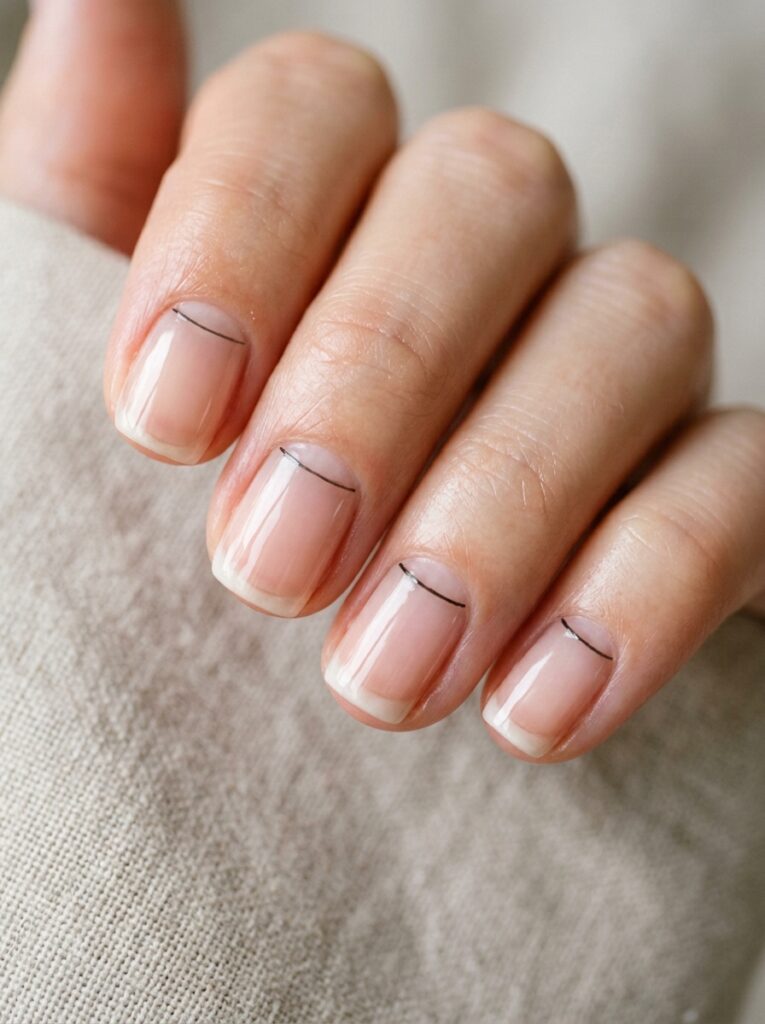
Short nail beds love this trick. A thin cuticle line traced right along the base of the nail draws the eye downward and makes nails look longer.
Layer it over a glossy sheer pink, and it grows out so subtly you’ll get an extra week before anyone notices!
Also read: 21 Short Square Nail Ideas That Prove Short Is the New Long
4. The Side Stripe
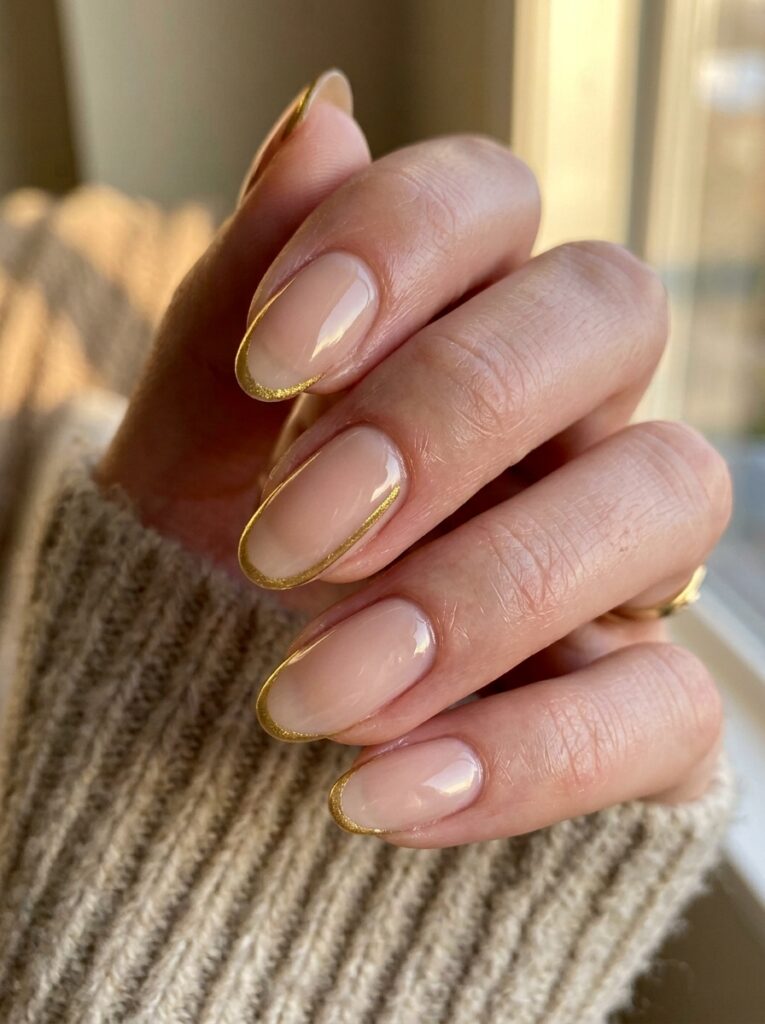
Subtle, sleek, and slimming.
Running a side stripe down the outer edge of each nail creates a frame that makes nails look narrower and longer.
Gold or silver metallic works best, since the shimmer catches the light beautifully along the edge!
5. The Broken Stripe
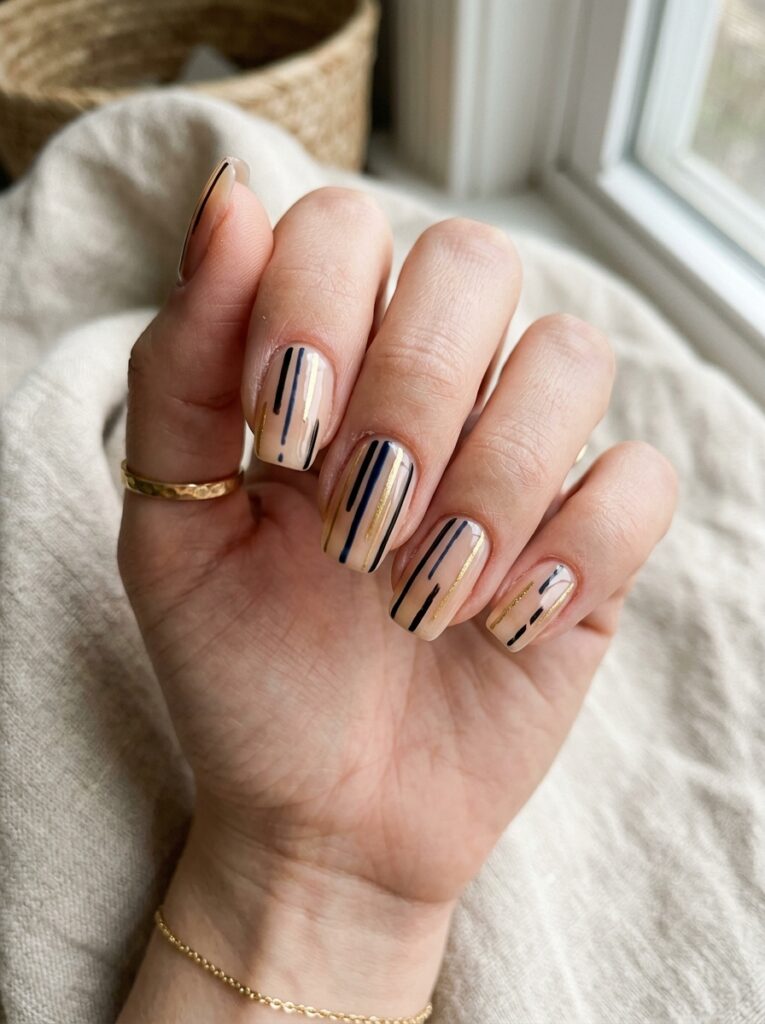
Sometimes unfinished looks better. A broken stripe that stops partway down the nail feels deliberate and artistic.
Try two lines at different heights on the same nail over a soft nude base for a cool, gallery-worthy effect that’s surprisingly easy to paint!
Classic Stripe Patterns
6. Pinstripe Nails
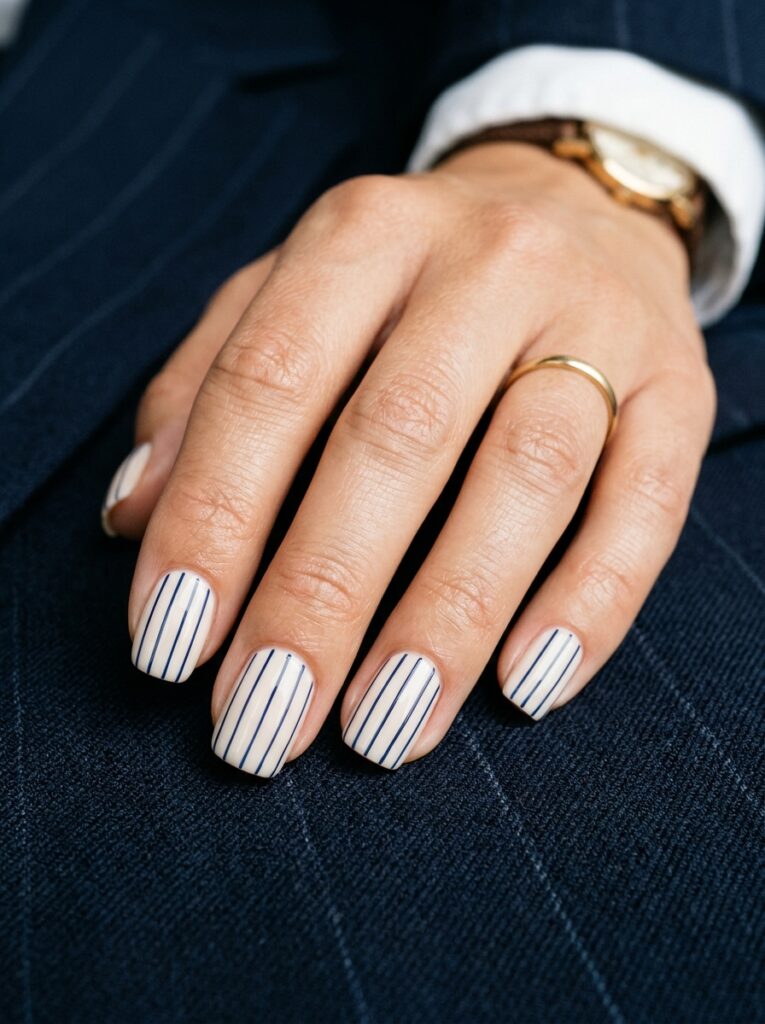
Tailored, menswear-inspired pinstripe nails have been a favorite for seasons, and they’re easier than they look. You’ll need:
- A soft cream or nude base
- Ultra-thin lines in navy or charcoal
- Tight, even spacing
- A fine striping brush or striping tape
Widely spaced pinstripes lose their crispness, so keep them close!
7. The Breton Stripe
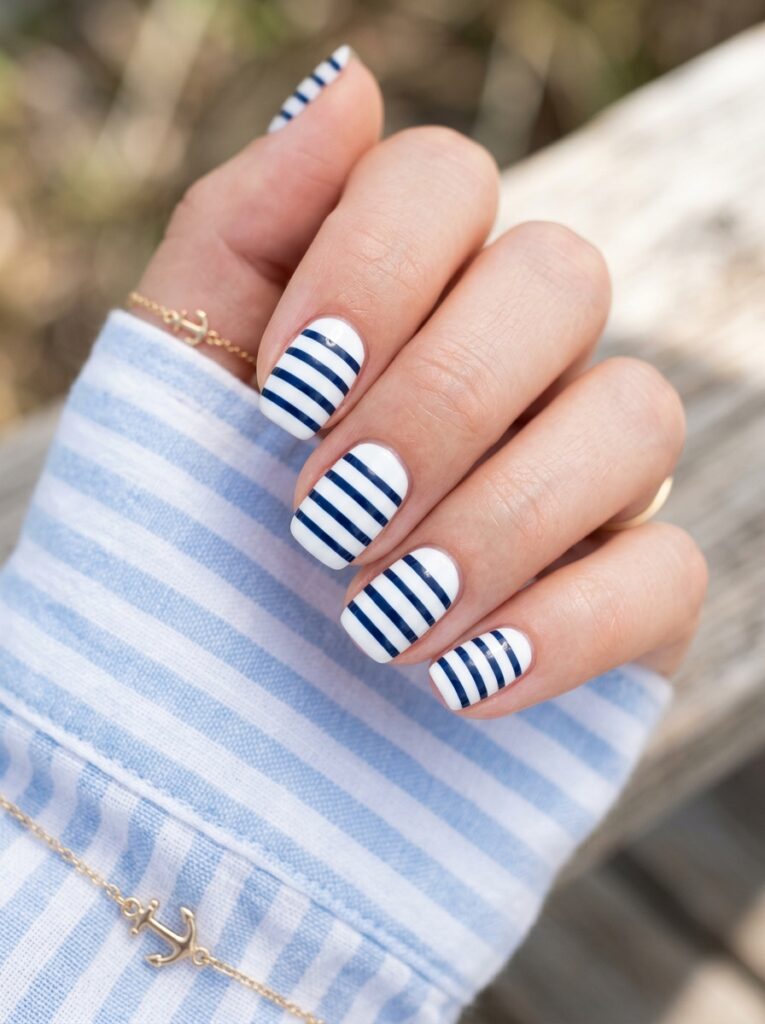
If your wardrobe is full of striped tees, your nails should match. Breton stripes in navy over a crisp white base feel preppy, French, and clean.
Horizontal lines shorten the nail, so this one looks best on medium and long shapes.
8. Candy Stripes
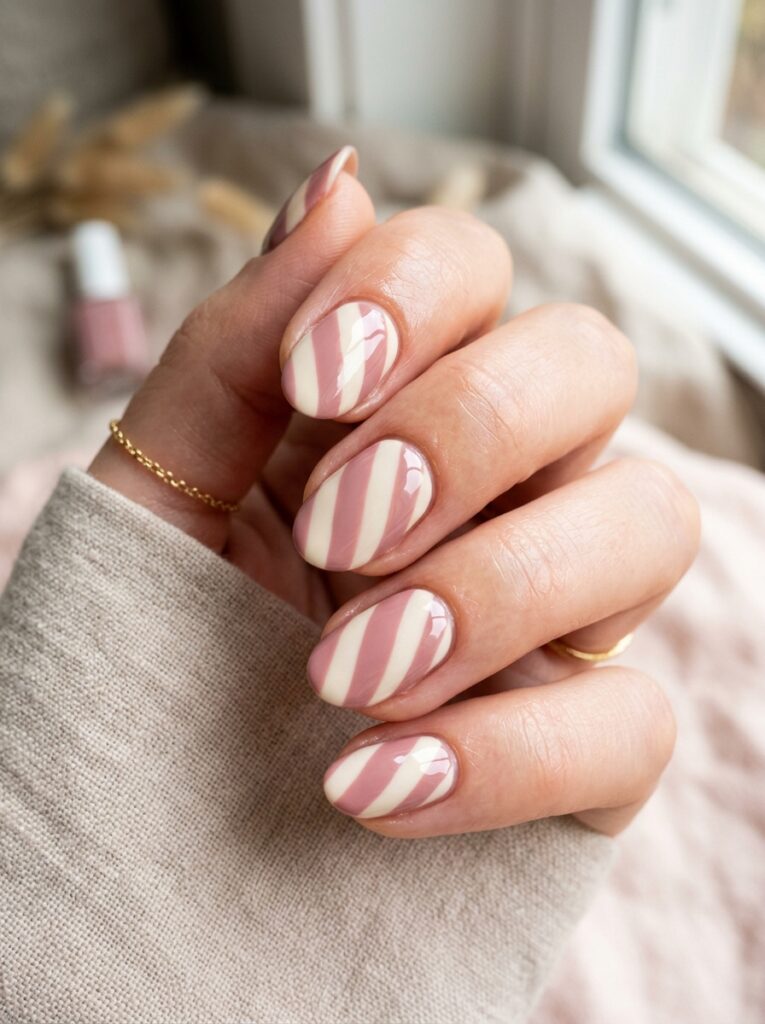
Sweet-shop vibes, but make it chic. Alternating diagonal candy stripes in two colors photograph so beautifully and feel playful without trying too hard.
Muted pairs like dusty pink and cream keep it grown-up, while brighter combos really make a statement!
Also read: 21 Stunning Back to School Nail Designs You Will Love
9. Racing Stripes
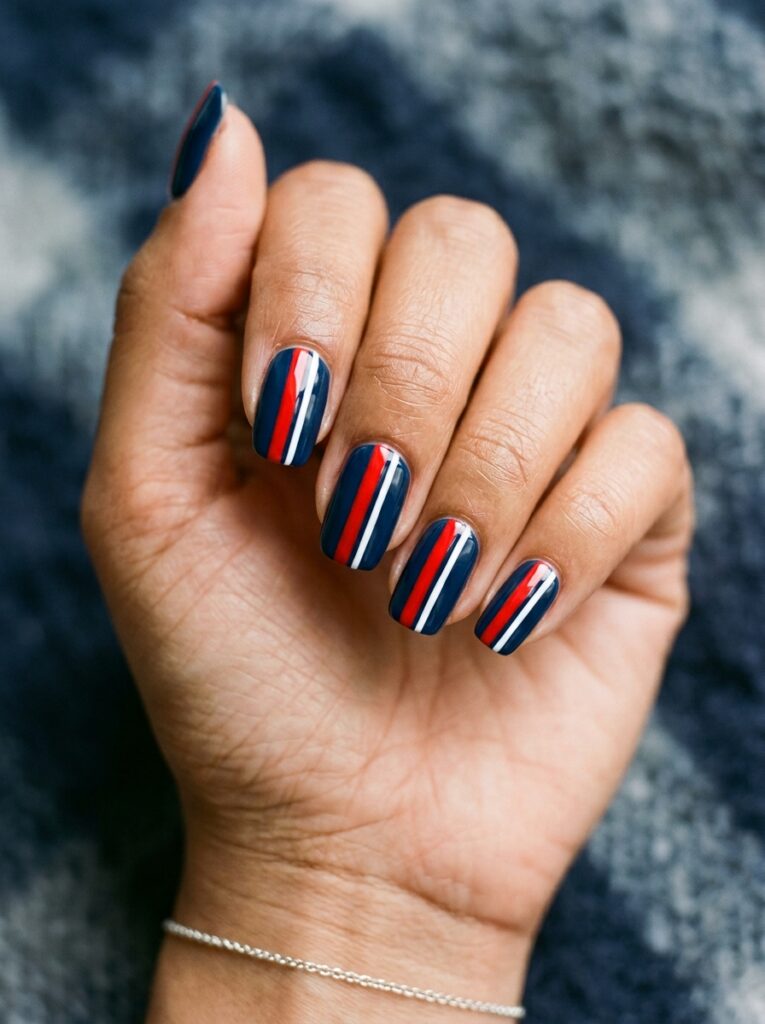
Borrowed straight from car detailing, racing stripes run two parallel lines down the center of each nail for a sporty, sharp look. Pair one thick line with one thin one, since that uneven weight is what makes the design look intentional rather than accidental.
10. Wide Color Blocking
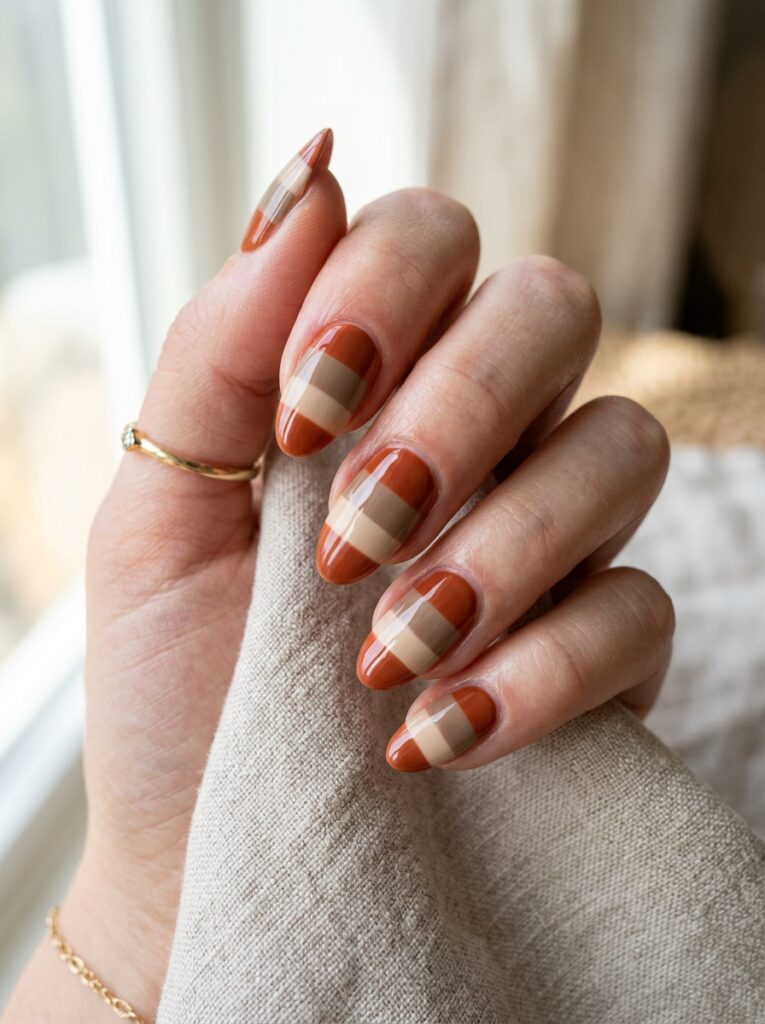
Zero precision required! Wide color blocking turns stripes bold and graphic. To nail the look:
- Two or three thick horizontal bands per nail
- Colors from the same tonal family
- Striping tape for clean edges
- A glossy finish to unify the layers
Think terracotta, caramel, and cream for a warm, fall-ready combo!
Diagonal and Angled Stripes
11. The Single Diagonal
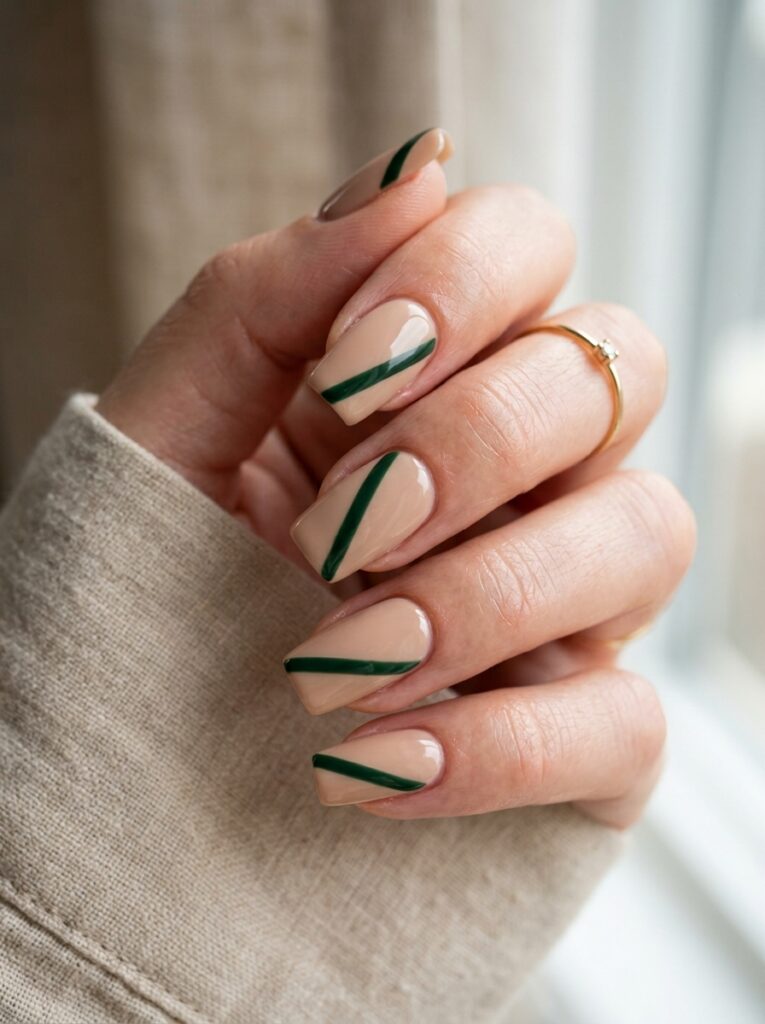
Craving movement? A single diagonal stripe cutting across each nail adds energy that straight lines simply can’t match on their own.
Bonus: the angle lengthens your nails at the same time, so it beautifully flatters almost every shape and length!
12. Crossed Diagonals
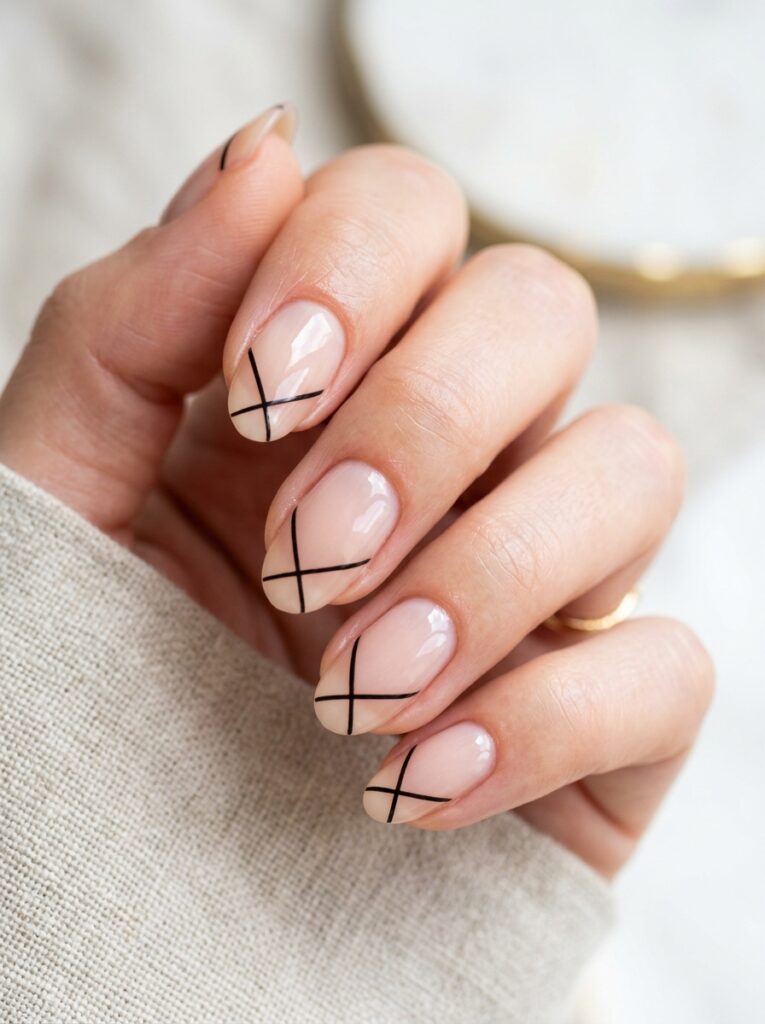
Looks complicated, takes minutes. Two crossed diagonals meeting near the tip form a subtle X that feels graphic and modern.
Keep the crossing point high and paint over a sheer blush base so the design never crowds a short nail bed!
13. The Chevron
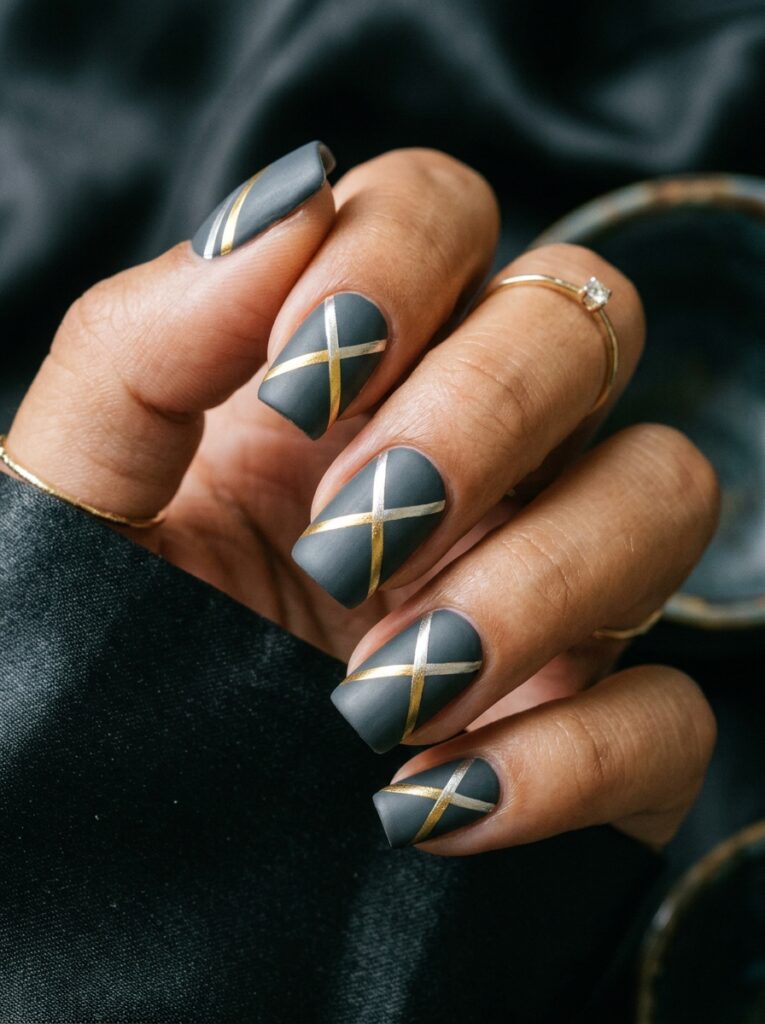
Sharp, geometric, and endlessly flattering, a metallic chevron over a matte base looks especially striking on square and squoval nails, where the flat tip echoes the point of the V. Gold, rose gold, or silver all catch the light beautifully!
14. Diagonal Color Split
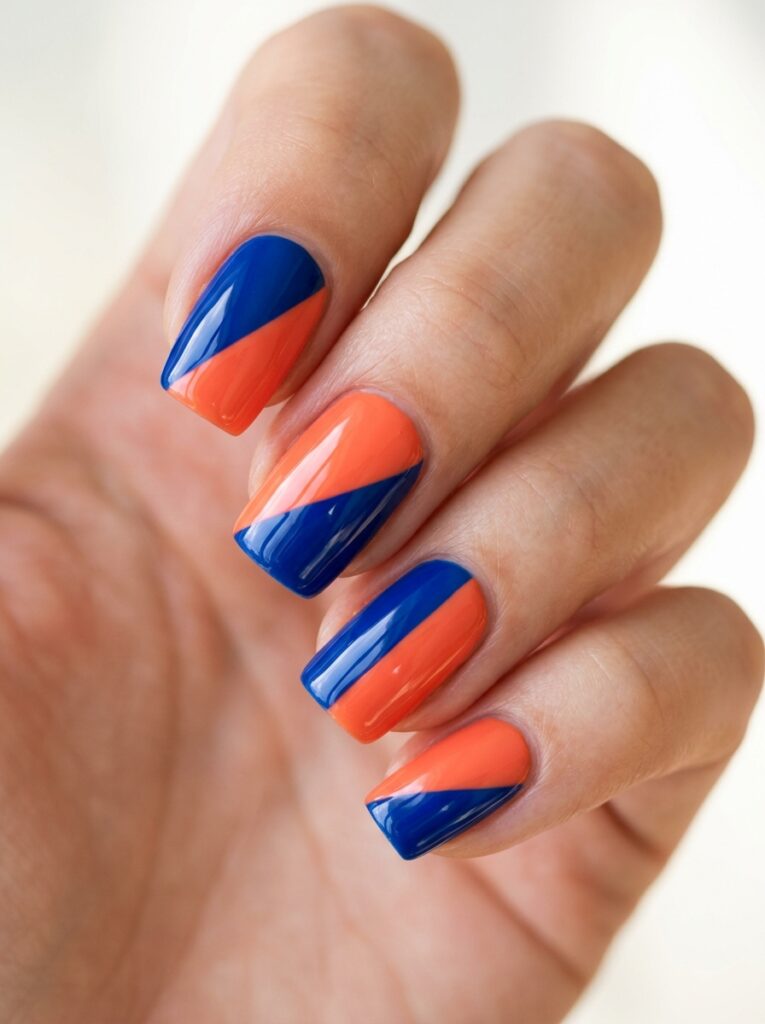
Tape and two polishes are all you need for the most graphic look here. A diagonal color split divides each nail into two bold halves.
The angle lengthens short nails, while a horizontal split would cut them in half visually.
Statement Stripe Designs
15. Metallic Gold Lines
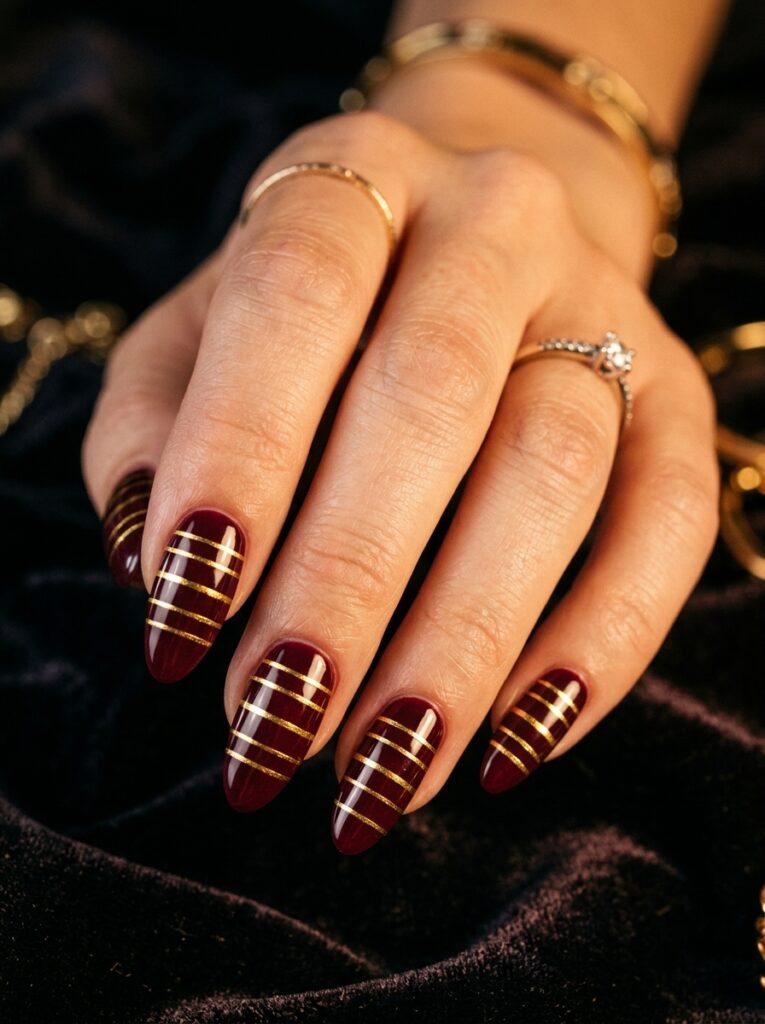
Few combos look richer than gold stripes over a deep base like burgundy, forest green, or espresso brown.
The metallic catches the light every single time your hands move. Use a gold striping polish for the easiest, crispest lines possible!
Also read: 21 Burgundy Nail Ideas: How to Wear Fall’s It Color
16. Chrome Stripes
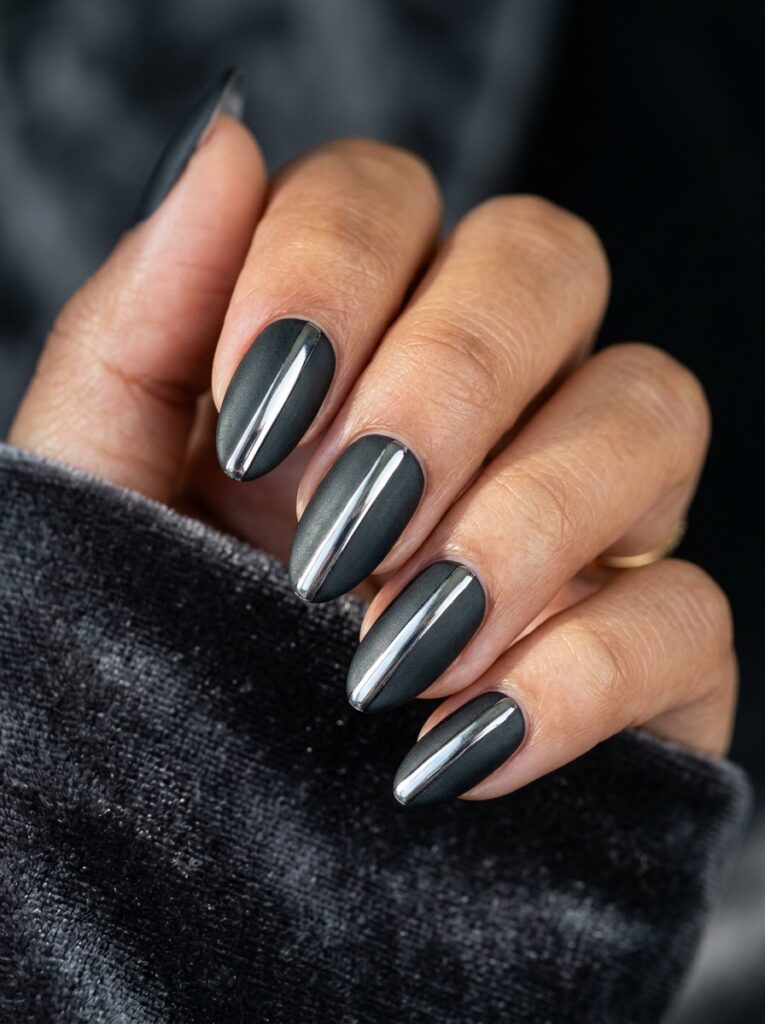
Texture is everything here. A mirror-bright chrome stripe over a velvety matte base adds real dimension. How salons build it:
- A matte top coat on the base color
- Striping tape to mark the line
- Chrome powder buffed along the tape
- A no-wipe top coat over the chrome only
It looks far more expensive than the effort it takes!
17. Multi-Color Vertical Set
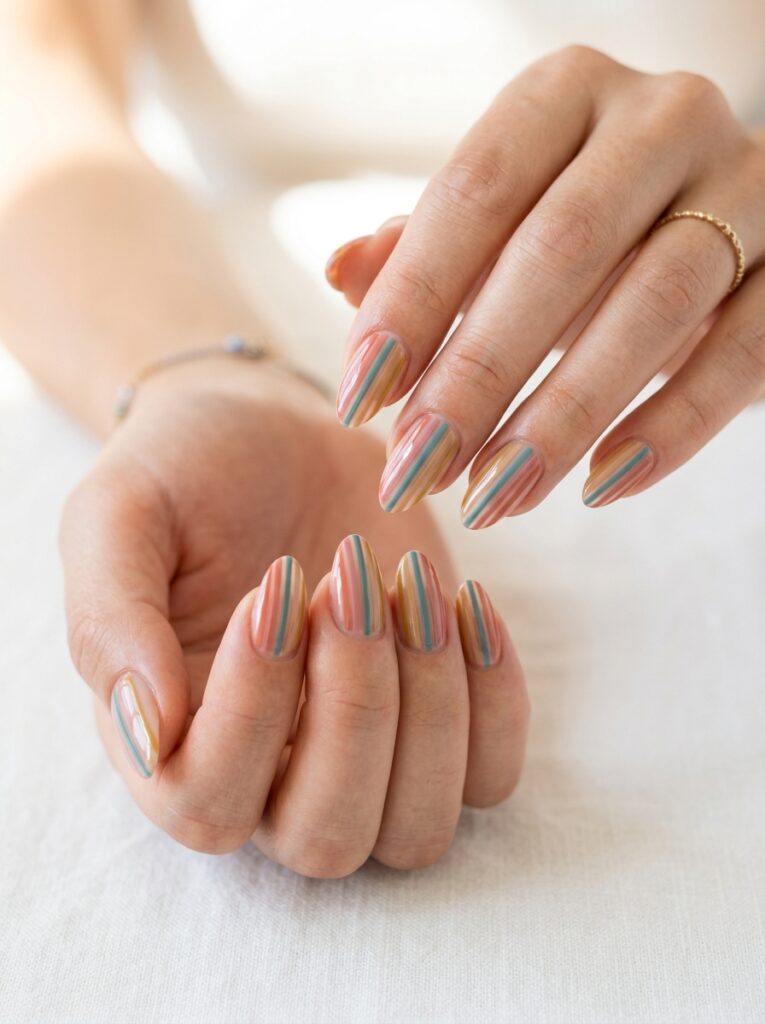
Love color but hate chaos? Paint four or five thin multi-color stripes down each nail, all pulled from the same tonal family.
It takes patience rather than skill, since every line needs to dry before the next one goes down beside it!
18. The Plaid Build
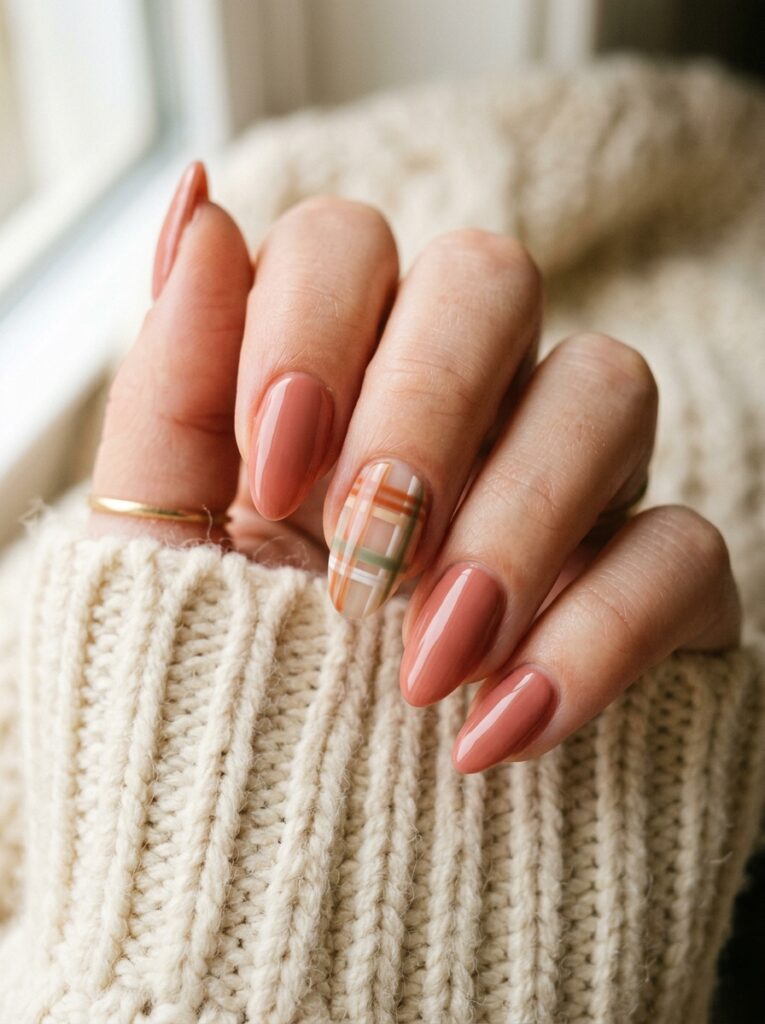
Cozy season, meet your nails.
Layering sheer vertical and horizontal stripes builds a soft plaid that feels warm and considered rather than school uniform.
One plaid accent nail paired with a solid set in a matching shade is the perfect amount!
19. Wavy Stripes
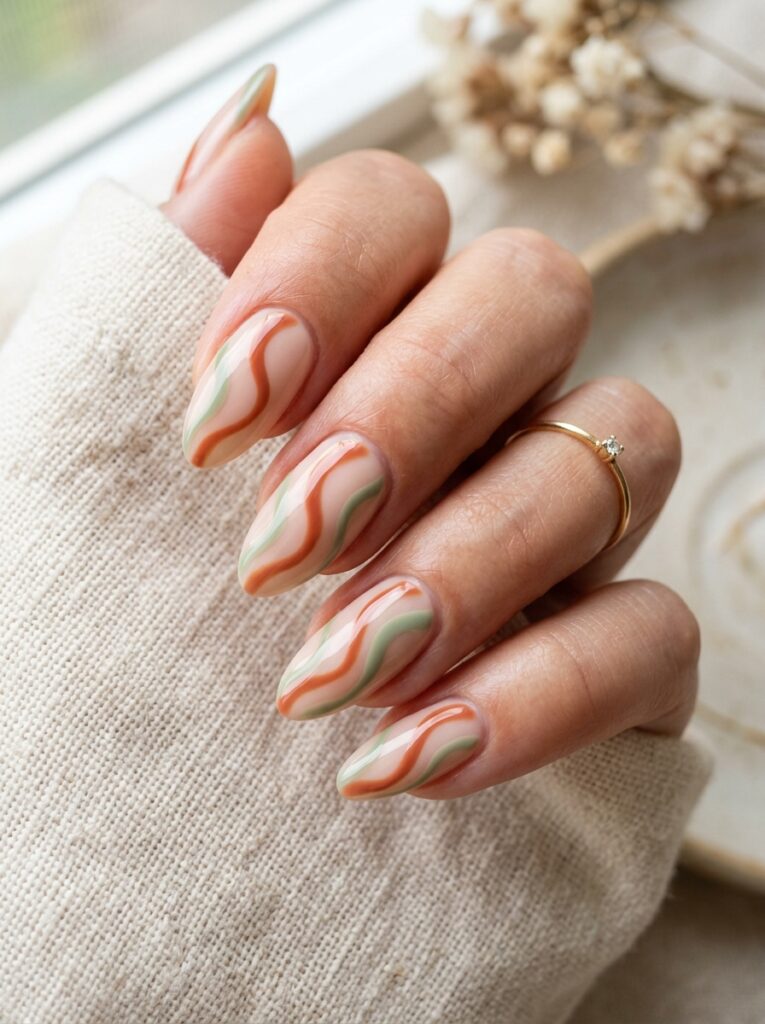
Straight lines stressing you out? Wavy stripes turn a precise design into a relaxed, retro one, and the little wobbles honestly make it better.
Two curvy waves per nail in contrasting colors like chocolate and cream is the sweet spot!
20. Jelly Stripes on a Milky Base
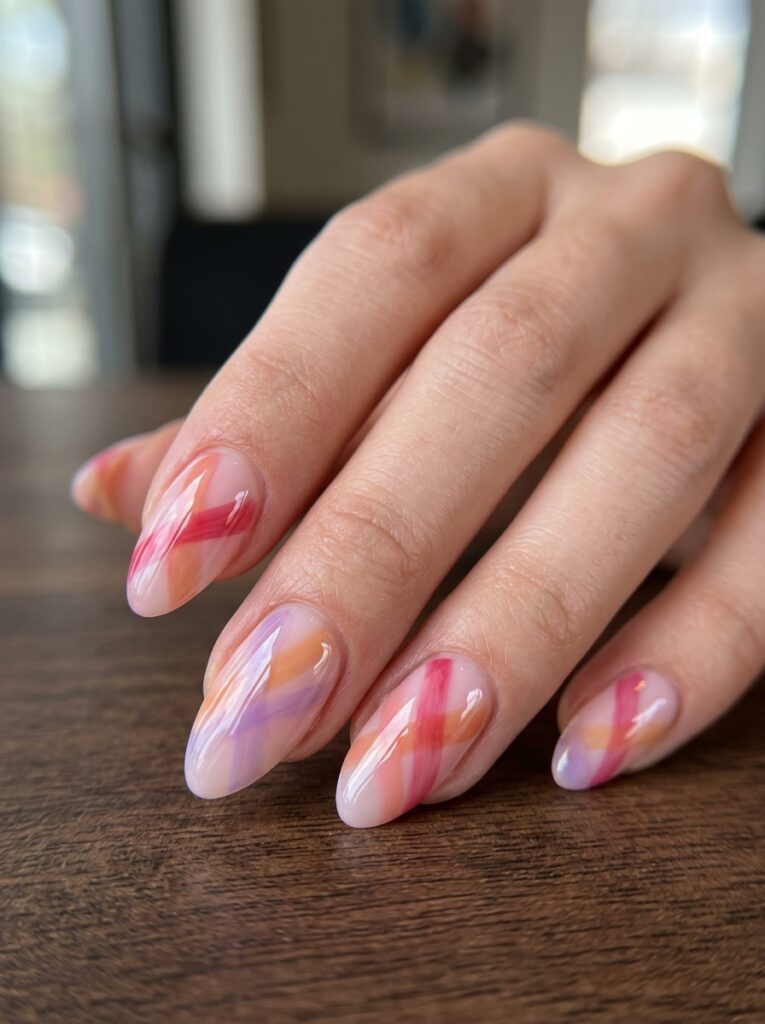
For a glassy, stained-glass effect, try jelly stripes in translucent color over a soft milky base. Here’s the recipe:
- A milky white or pink base
- Sheer jelly polish in two or three shades
- Overlapping lines where the colors blend
- A thick glossy top coat
The overlapping sections create brand-new shades, making every nail unique!
21. Velvet Cat Eye With a Gold Pinstripe
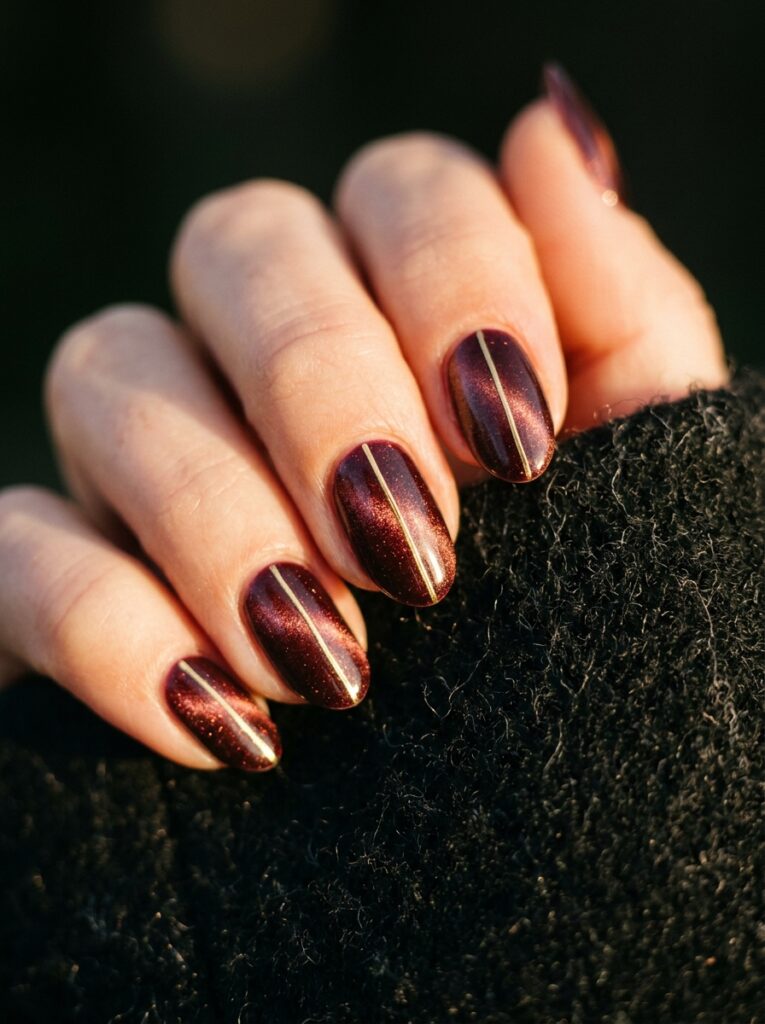
Ending on pure luxury: a velvet cat eye base in deep burgundy or emerald gets a single fine gold pinstripe running down the center.
The shimmer moves as your hand does, while the gold line adds structure. It’s the most elegant stripe on this list!
Also read: 21 Jewel Tone Nail Ideas That Look Like Gemstones
Conclusion
Stripes might just be the best effort-to-impact design in nail art. A single line takes seconds and transforms a whole manicure, while the more detailed sets still only need tape, a thin brush, and patience. Start with the thin line or diagonal split, then work up to chrome, plaid, and velvet cat eye once you’ve found your rhythm!
Striped Nail Designs FAQ
A thin striping brush and striping tape cover almost every design here.
Add a fast-drying top coat, since fresh lines smudge easily before they set.
Vertical stripes win for short nails, since they visually lengthen the nail bed.
Horizontal stripes and wide bands shorten the nail, so save those for medium and long shapes.
Striping tape is the easiest trick. Lay it over a fully dry base, paint over it, and peel it away while the polish is still wet.
Wavy stripes are another great option, since a little imperfection is part of the look.
High-contrast pairs like black on nude or navy on cream look the sharpest.
For something luxe, try gold or chrome over deep shades like burgundy, emerald, or espresso.
Let every layer dry completely before adding the next.
Then apply your top coat in one smooth sweep instead of brushing back and forth over the lines.