Blush placement matters more than blush color, and most people have never tested that theory on themselves. The same shade sits high and lifts the face, sits low and softens it, or stretches across the nose and reads sun-kissed. Nothing else in your routine changes your face this much for this little effort.
The principle behind all of it is simple. Blush draws the eye wherever you put it, so placement decides whether your face looks lifted, wider, narrower, or younger.
Here are 20 blush placement ideas covering everyday wear, face-shape strategy, and the trend placements filling everyone’s feed right now!
This website may contain affiliate links, meaning I may earn a small commission at no extra cost to you.
Everyday Blush Placements
1. The Apple Lift
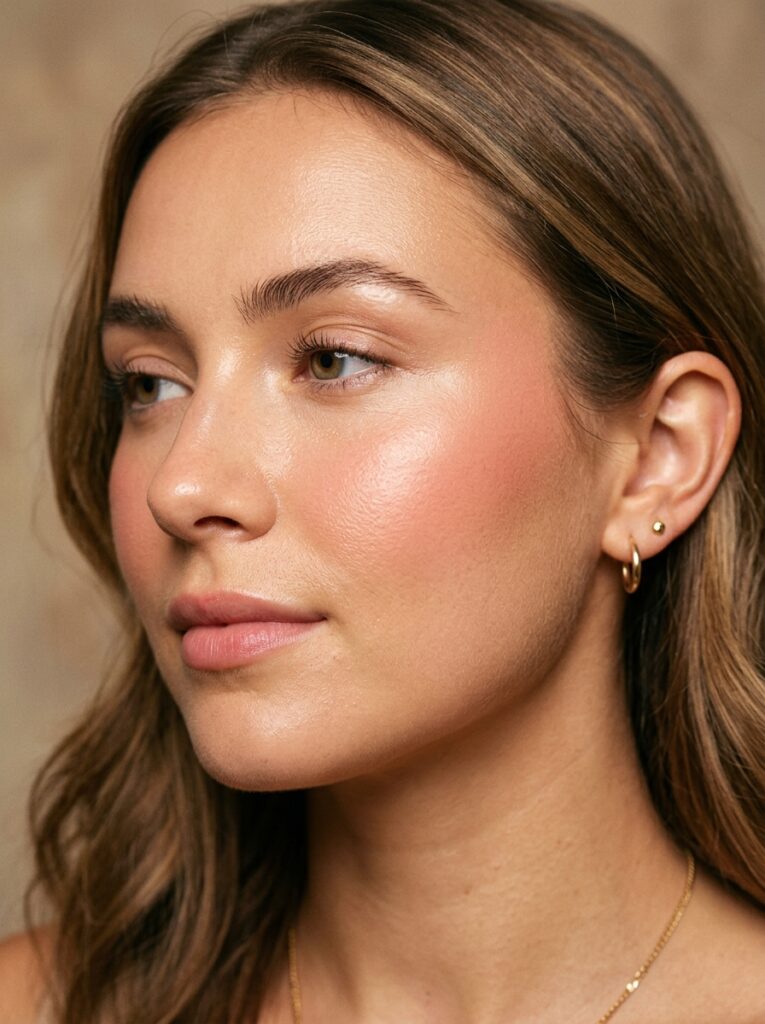
Smile, find the roundest part of your cheek, then blend upward from there instead of straight out.
Most people stop at the apples and end up looking flushed rather than lifted, so that upward pull toward the temple is what changes everything. It stays youthful on every face shape!
2. The High Cheekbone Sweep
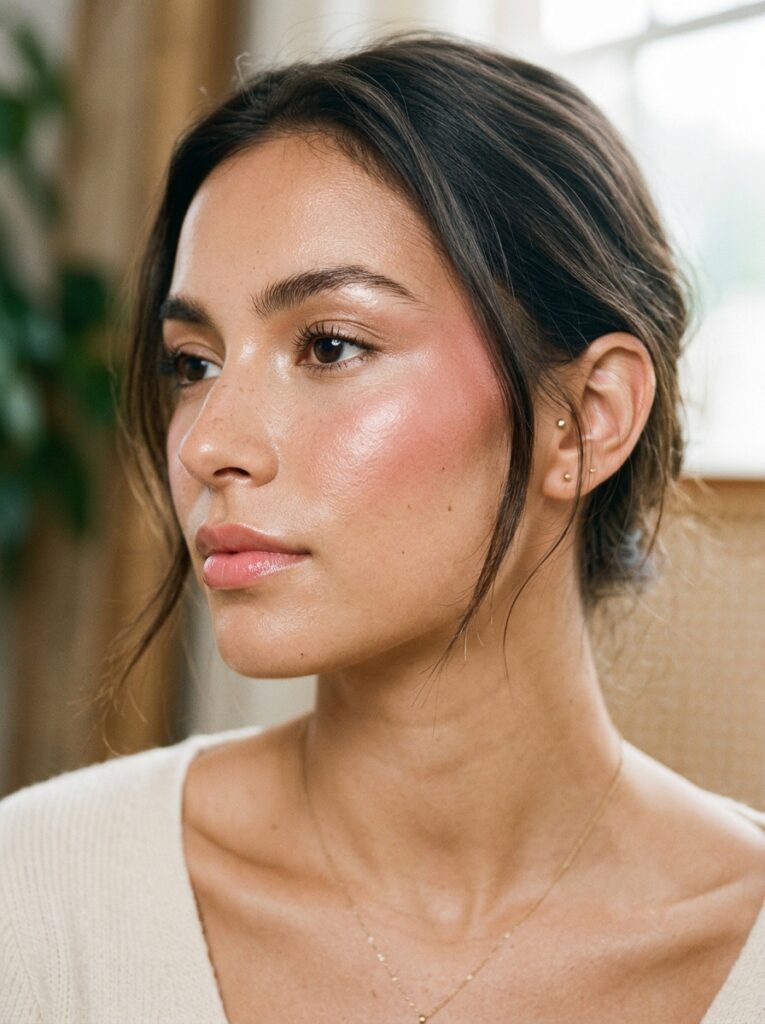
Place the color entirely above the apples, right along the top of the cheekbone where a highlighter would sit.
Because the eye reads the highest point of color as the highest point of the face, this instantly lifts everything beneath it. Best on mature skin or anyone wanting a snatched effect.
3. The Inner Cheek Flush
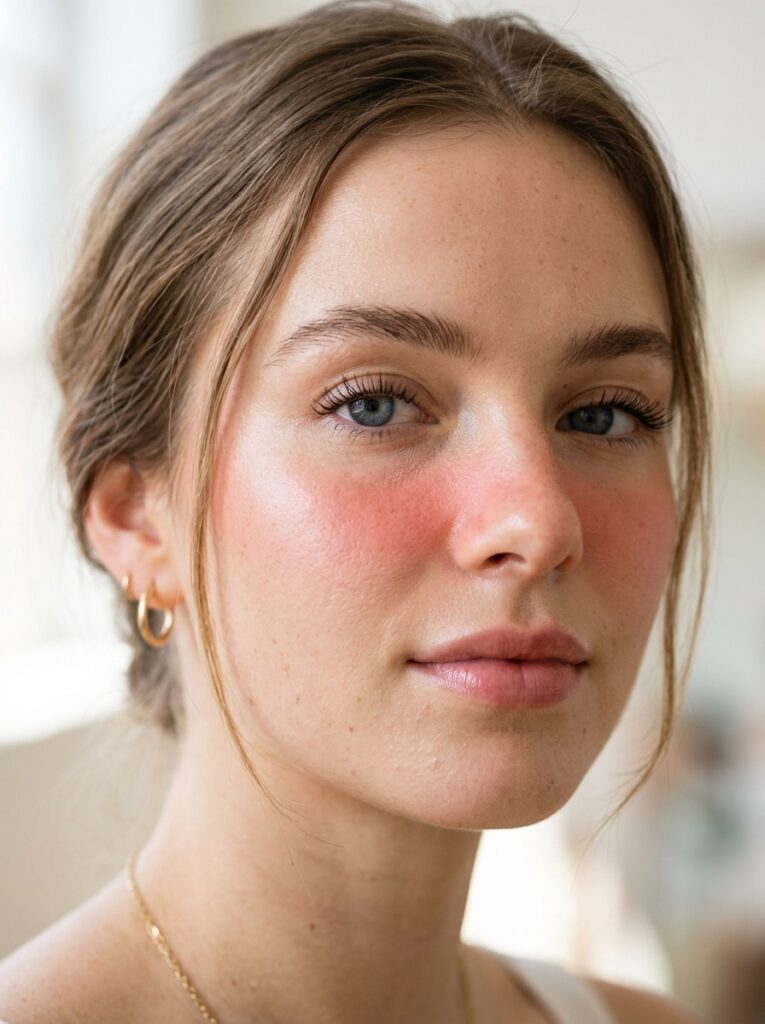
Concentrate the color close to the nose and fade it outward, which keeps the flush centered and makes the face look narrower.
It mimics a natural blush pattern, since that’s genuinely where most people redden first. Keep it sheer, because heavy pigment this close to the nose looks harsh fast.
4. The Soft Temple Lift
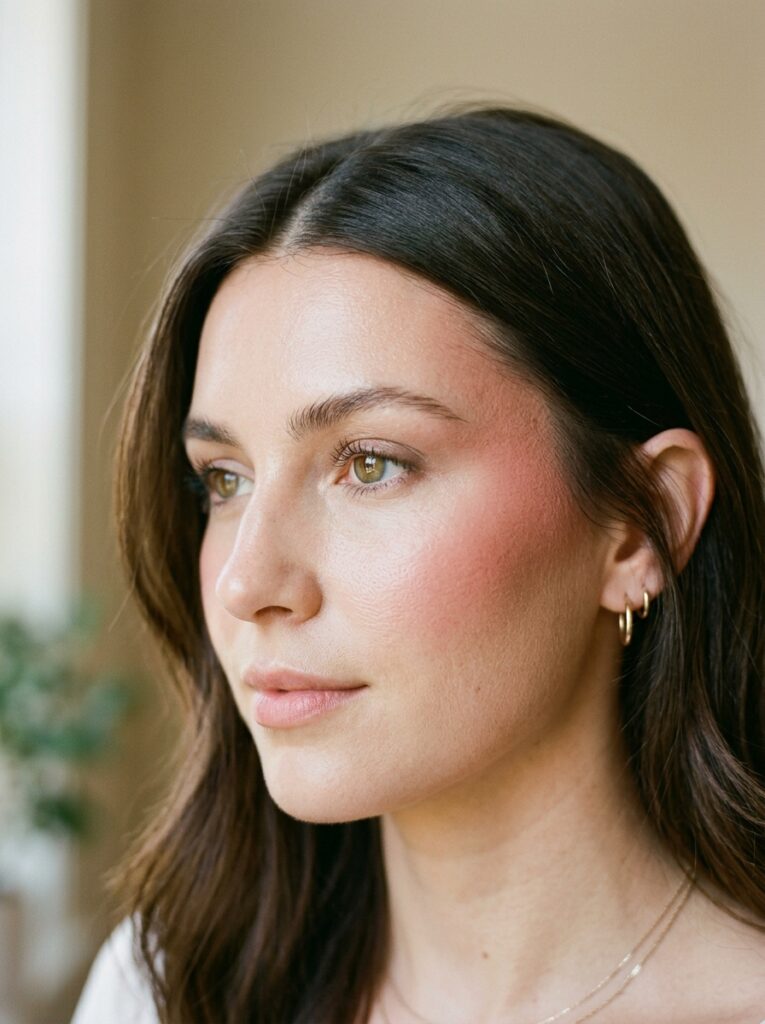
Skip the cheeks entirely and tap a small amount at the temples, blending up into the hairline.
It sounds strange until you try it, then you realize it’s doing the same job as a facelift-adjacent contour without any dark powder. Especially good under a middle part!
Placements by Face Shape
5. The Diagonal Lift for Round Faces
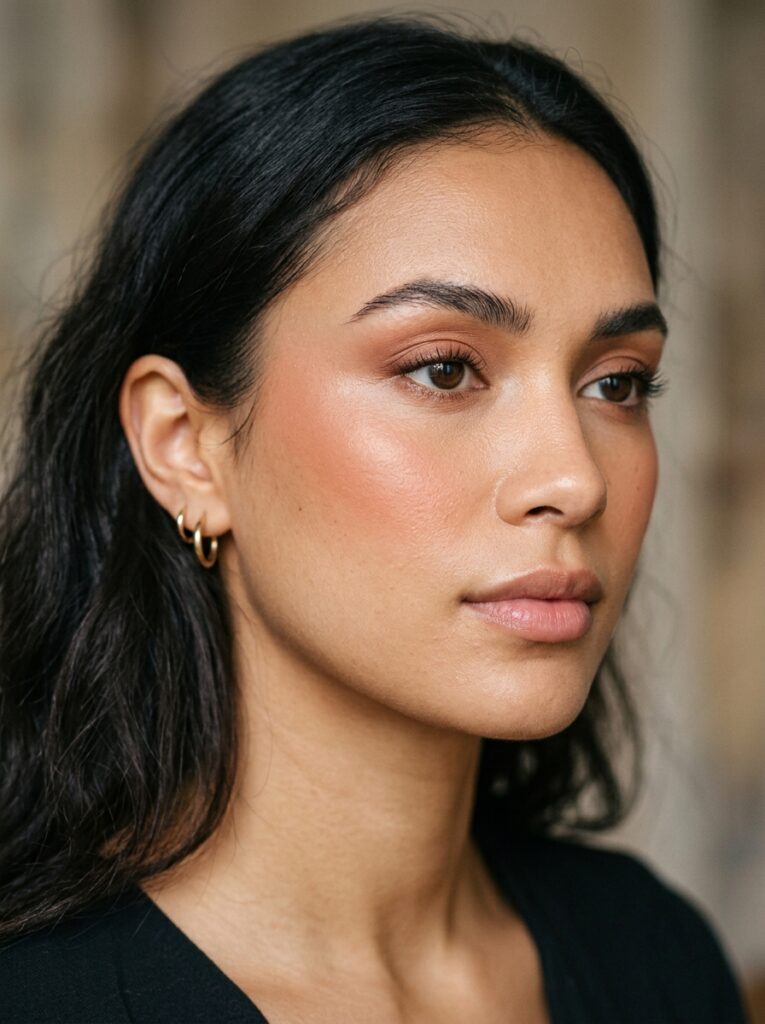
Draw the color in a diagonal line from mid-cheek up toward the outer edge of the eyebrow, then blend along that angle. The upward diagonal cuts against the roundness and creates length where the face is widest.
Avoid circular placement on the apples, since that emphasizes exactly what you’re softening.
6. The Horizontal Sweep for Long Faces
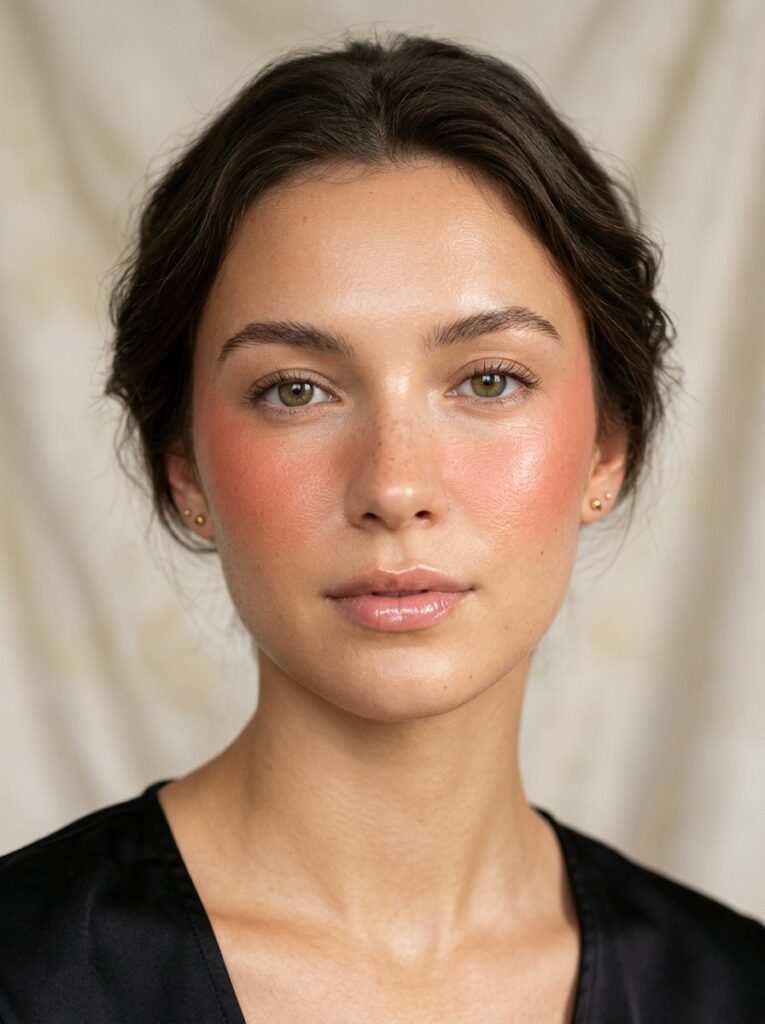
Blend the color in a wide horizontal band across the cheeks, stopping before the temple rather than lifting upward. Because horizontal lines create width, this visually shortens a long or narrow face.
It’s the one situation where the lifted diagonal placement genuinely works against you.
7. The Rounded Apple for Angular Faces
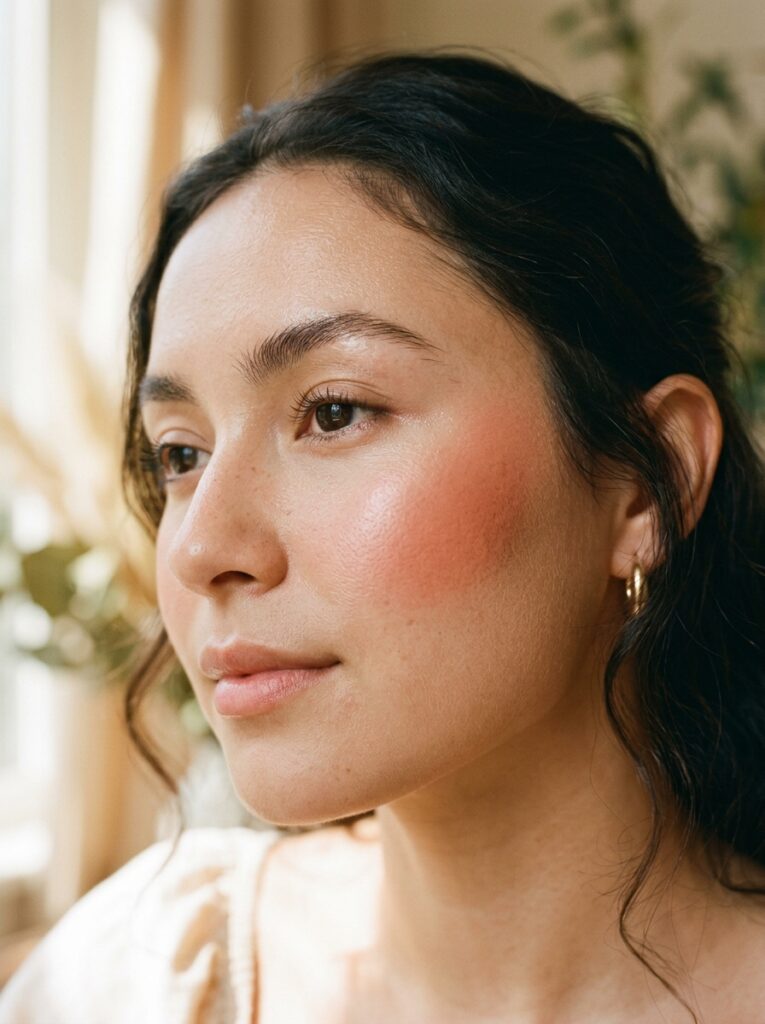
Keep the blush soft and circular on the apples, blended in gentle rounded edges with no sharp lines anywhere. Strong jawlines and square faces benefit from that roundness, since it counters the angles rather than reinforcing them.
Cream formulas blend rounder than powder, so reach for those here.
8. The Low and Wide for Heart-Shaped Faces
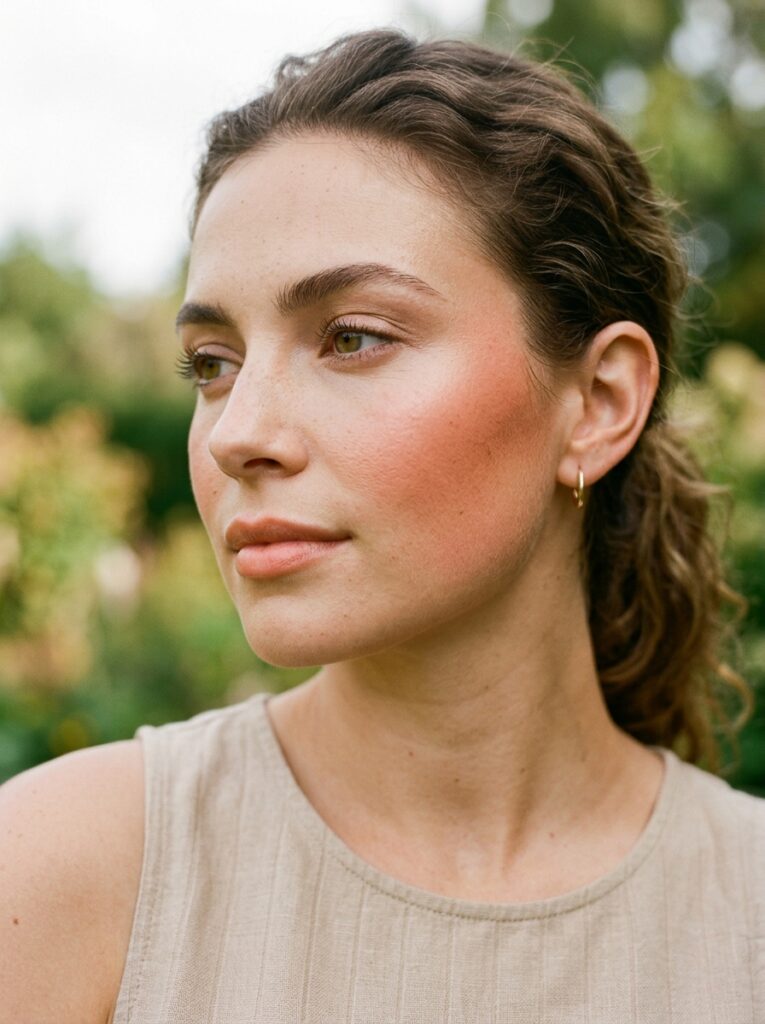
Place the color slightly lower on the cheek and extend it outward toward the ears, which adds visual weight where a heart-shaped face narrows.
It balances a wider forehead by giving the lower half of the face more presence. Keep the intensity even across the sweep!
Trend-Driven Placements
9. Draping
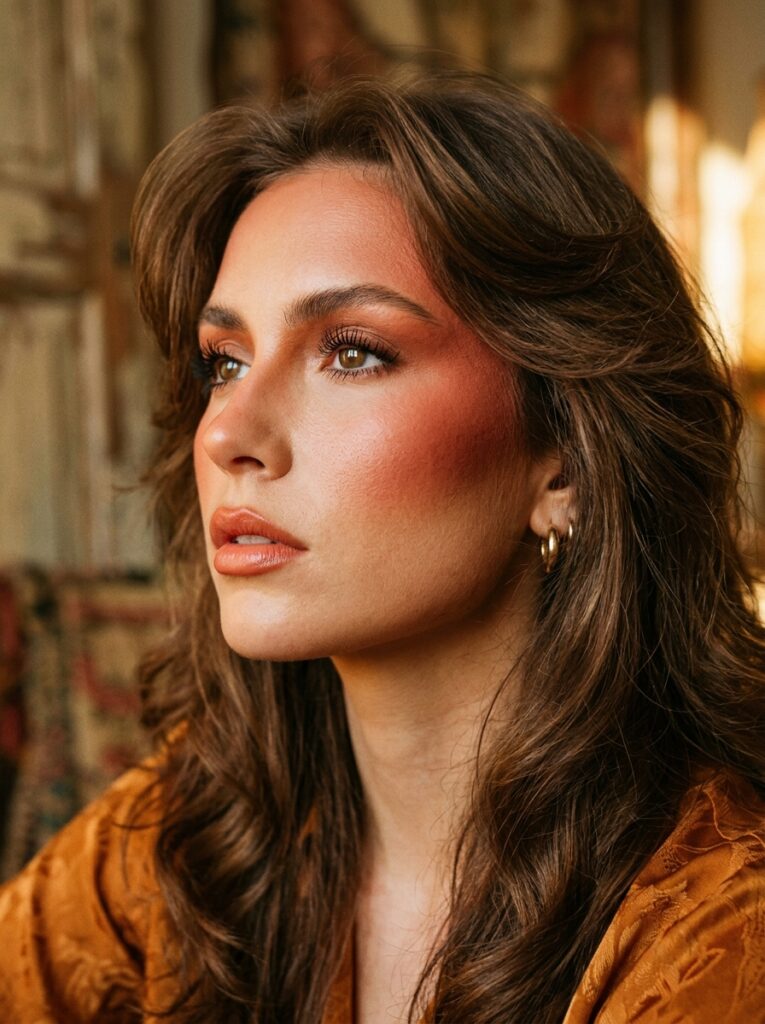
Sweep blush from the cheekbone up and around the temple, using it the way you’d use contour and bronzer combined.
This 1970s technique sculpts and flushes in one step, which is why makeup artists keep bringing it back. A buildable powder like Milani Baked Blush layers best for it.
10. Sunburn Blush
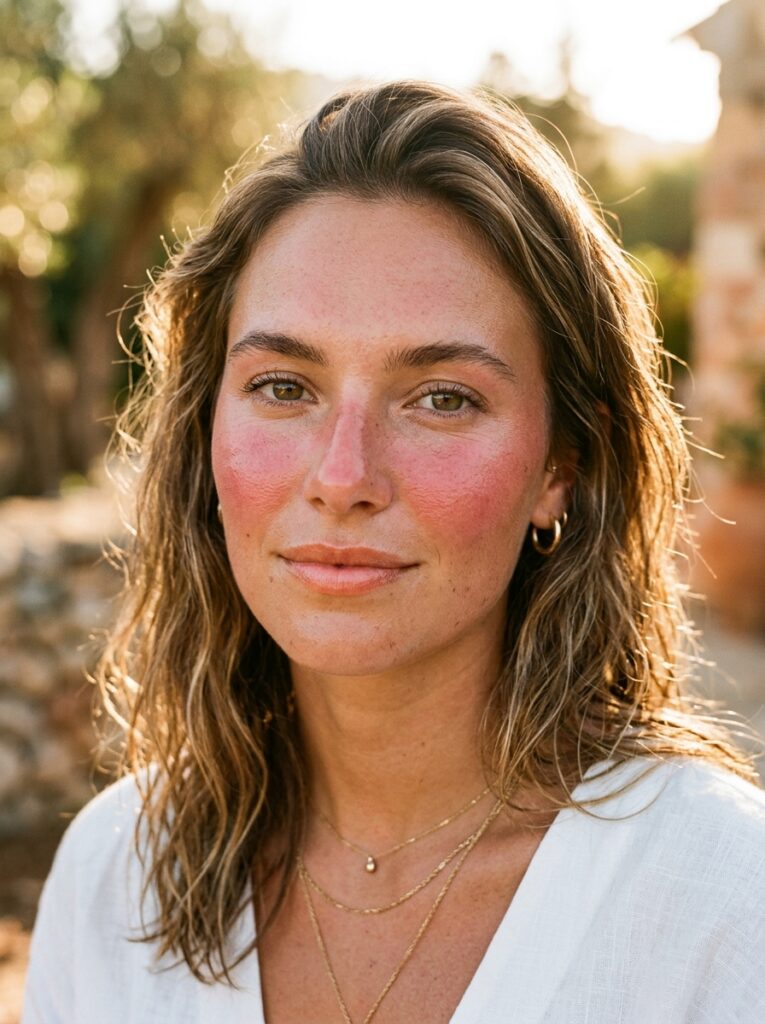
Take the color across the cheeks and straight over the bridge of the nose so it looks like a day outdoors.
The trick is keeping the nose lighter than the cheeks, since equal intensity reads clownish rather than sun-kissed. It suits warm and olive undertones especially well.
11. Under-Eye Blush
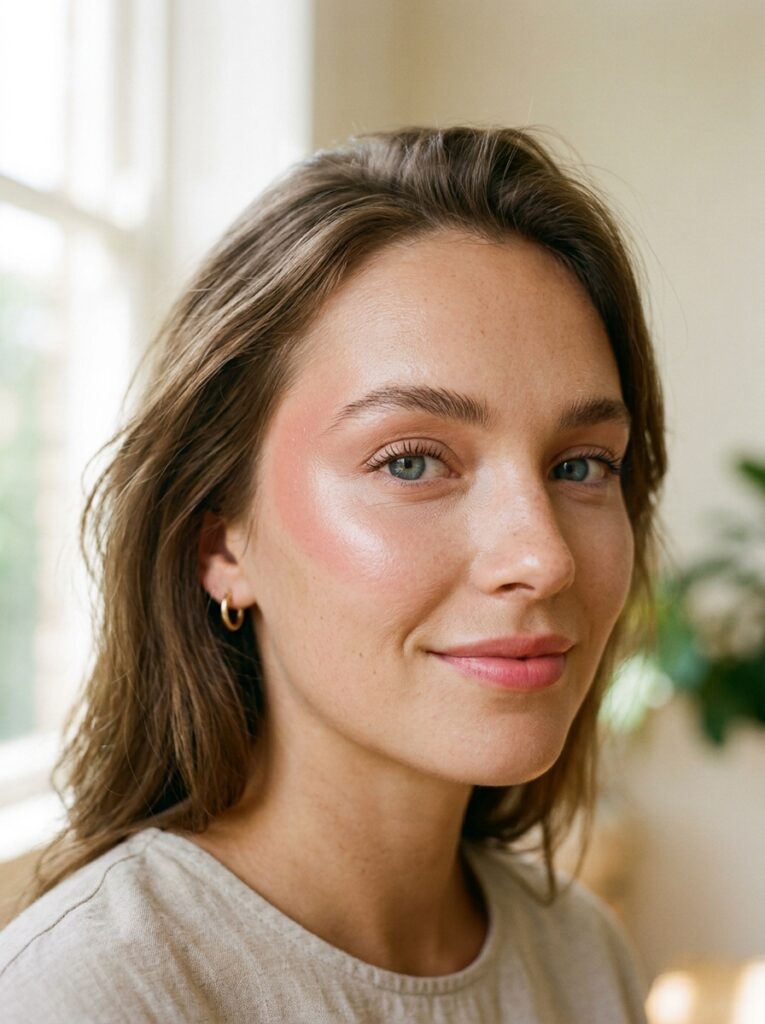
Apply a sheer wash in a soft C-shape under the eye, curving up toward the temple. It brightens the whole eye area and makes you look rested, which is why it took over social media.
A sheer liquid like Saie Dew Blush works better here than any powder.
12. The Cold Girl Flush
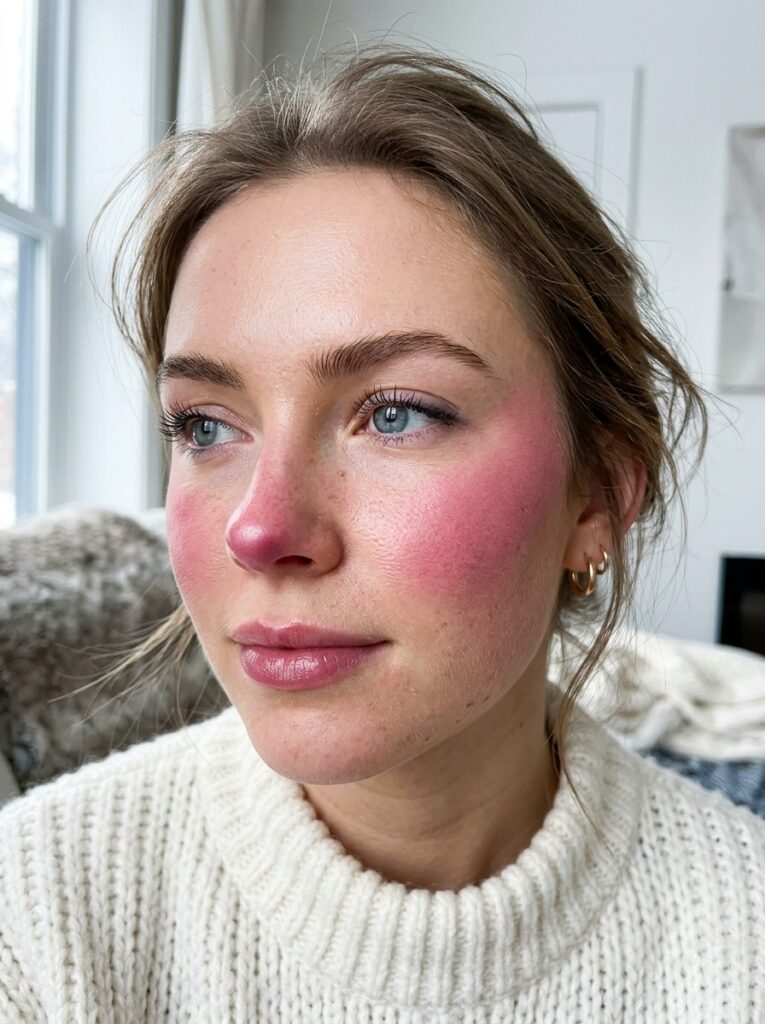
Build color on the cheeks and dab a little on the very tip of the nose for that just-came-in-from-the-cold look.
Cool pinks and berry tones sell it far better than peachy shades, since warmth defeats the whole effect.
13. Bunny Blush
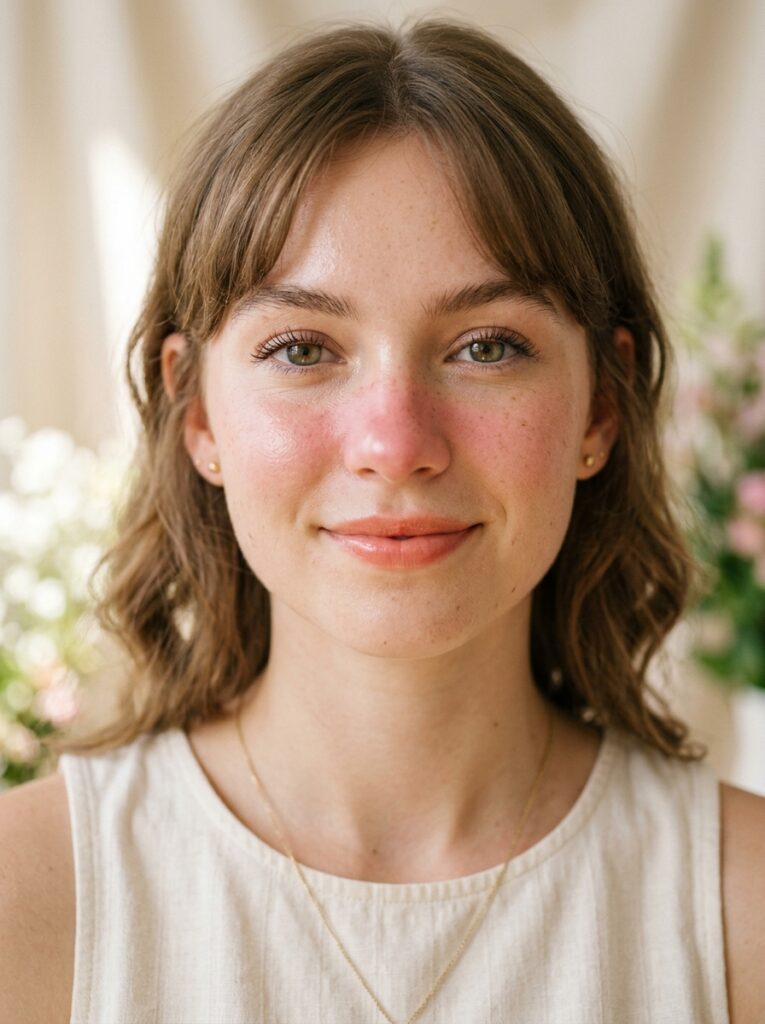
Concentrate the color on the bridge of the nose and only lightly on the inner cheeks, so the nose becomes the focal point.
It reads soft and a little playful, popular in Korean makeup for exactly that reason. Just keep everything else on the face minimal, it’s better that way!
Blush Beyond the Cheeks
14. Eyelid Blush
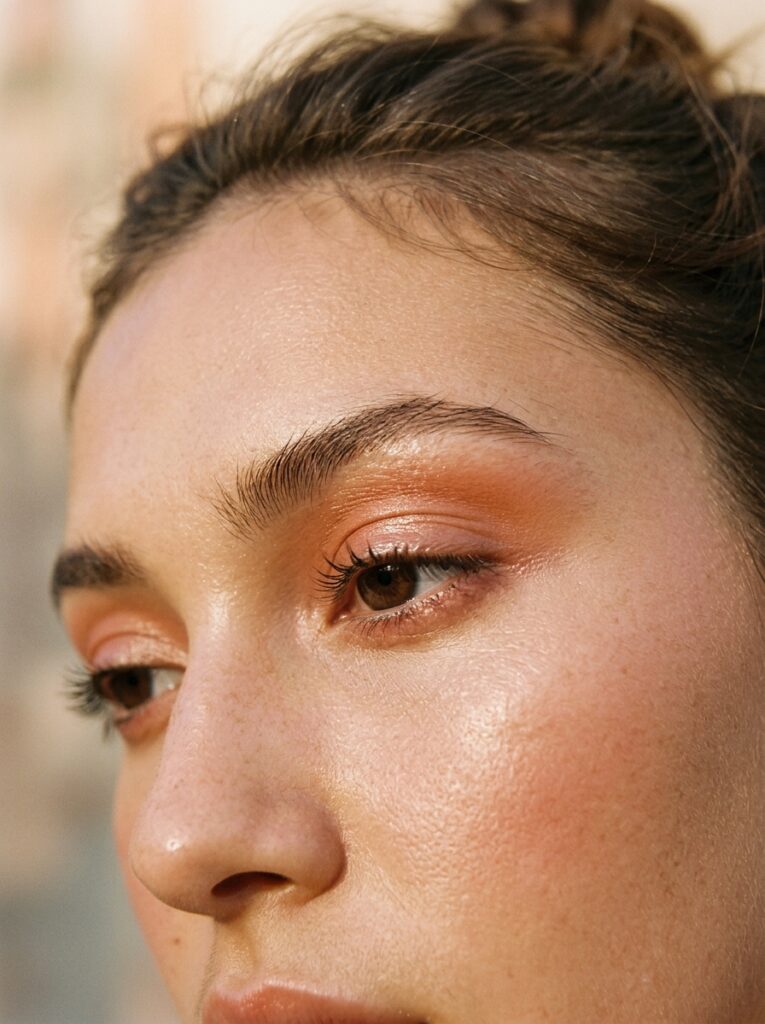
Pat your cream blush across the lid as eyeshadow, blending it slightly above the crease with a finger.
The result is a soft monochrome eye that takes ten seconds and never looks overdone. Something like the e.l.f. Monochromatic Multi Stick is built for exactly this!
15. The Blush Ear Trick
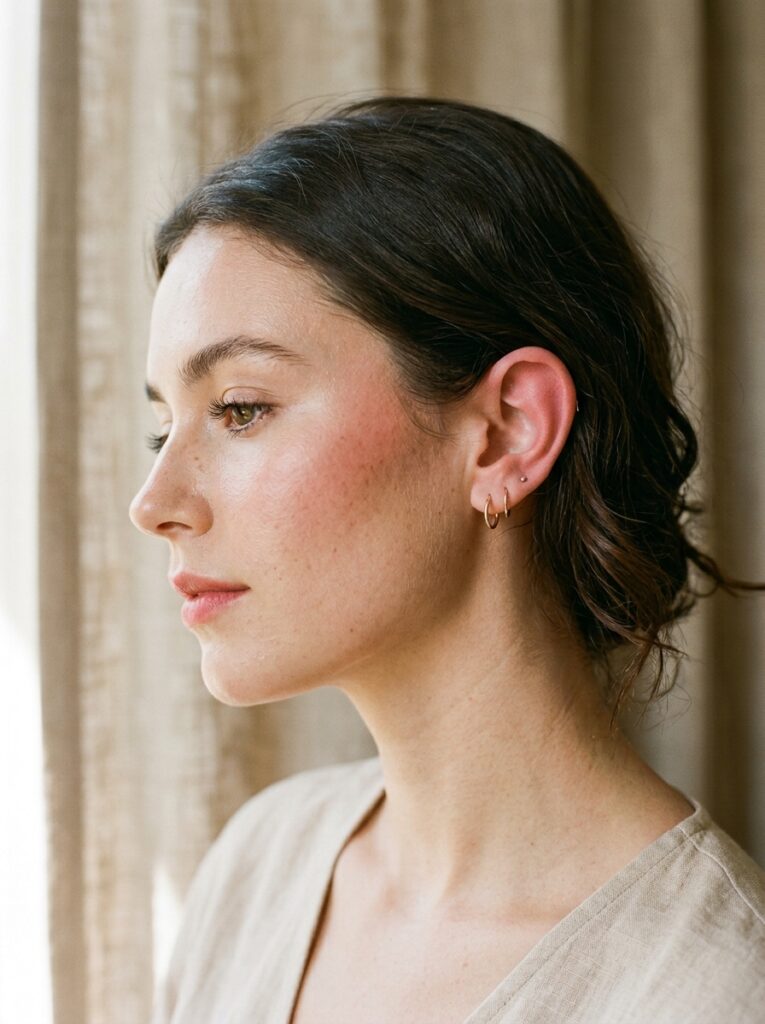
Dust a little color onto the tops of your ears, which sounds ridiculous until you see how convincing the flushed effect becomes.
It ties the whole face together, particularly with an updo or hair tucked behind the ears!
16. Jawline Warmth
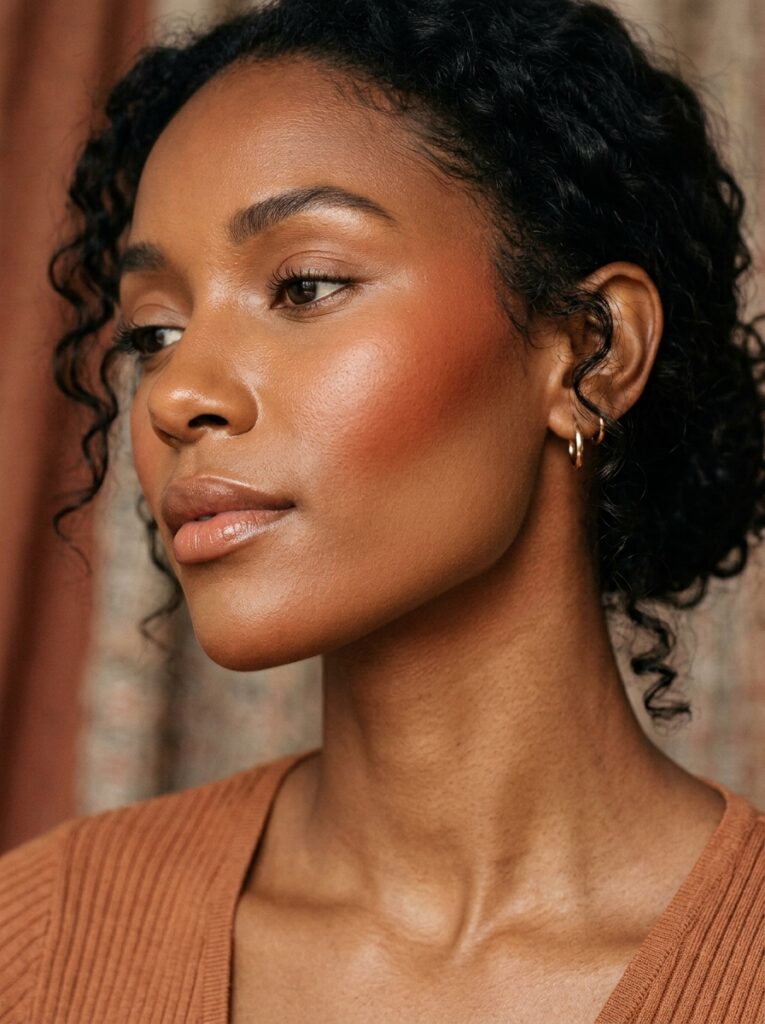
Tap a warm terracotta blush along the jaw and blend upward, adding dimension without the flatness that bronzer alone creates.
It works especially well on deeper skin tones where a single pink cheek can look disconnected. A stick formula gives you the most control here!
17. The Perimeter Halo
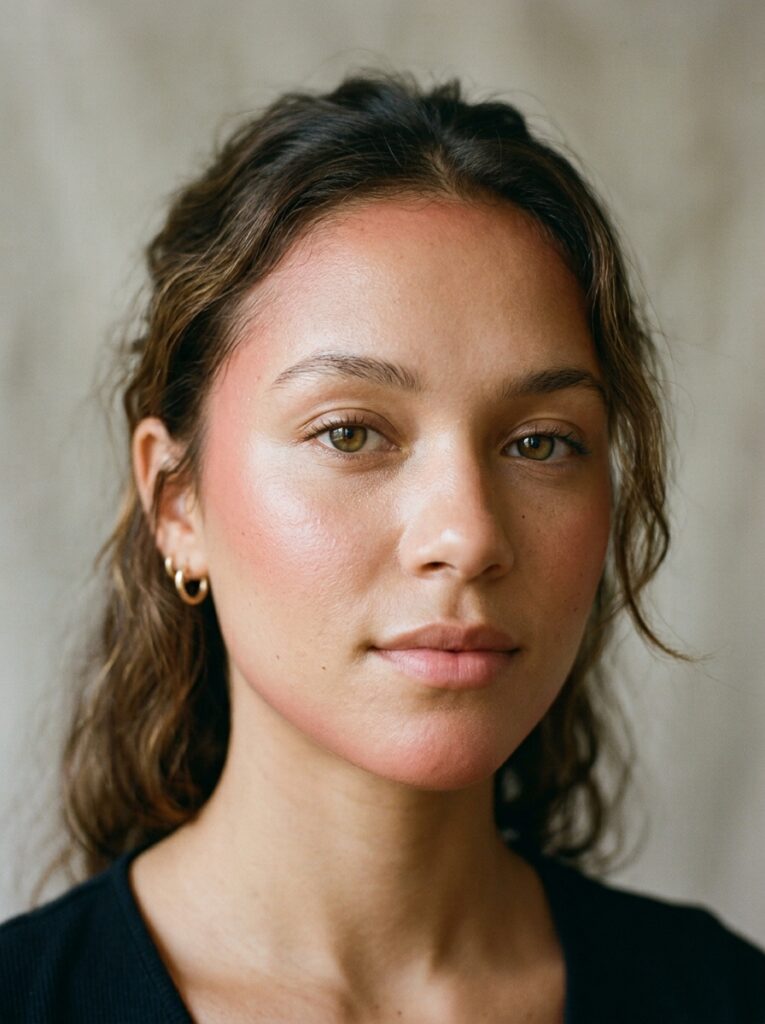
Place small amounts of blush at the temples, jaw, chin, and hairline, essentially framing the face with warmth.
It’s what makes skin look naturally flushed rather than made-up, and it’s the placement most editorial artists actually use. Also, remember to keep every touch light!
Layering and Finishing Techniques
18. Blush Over Bronzer
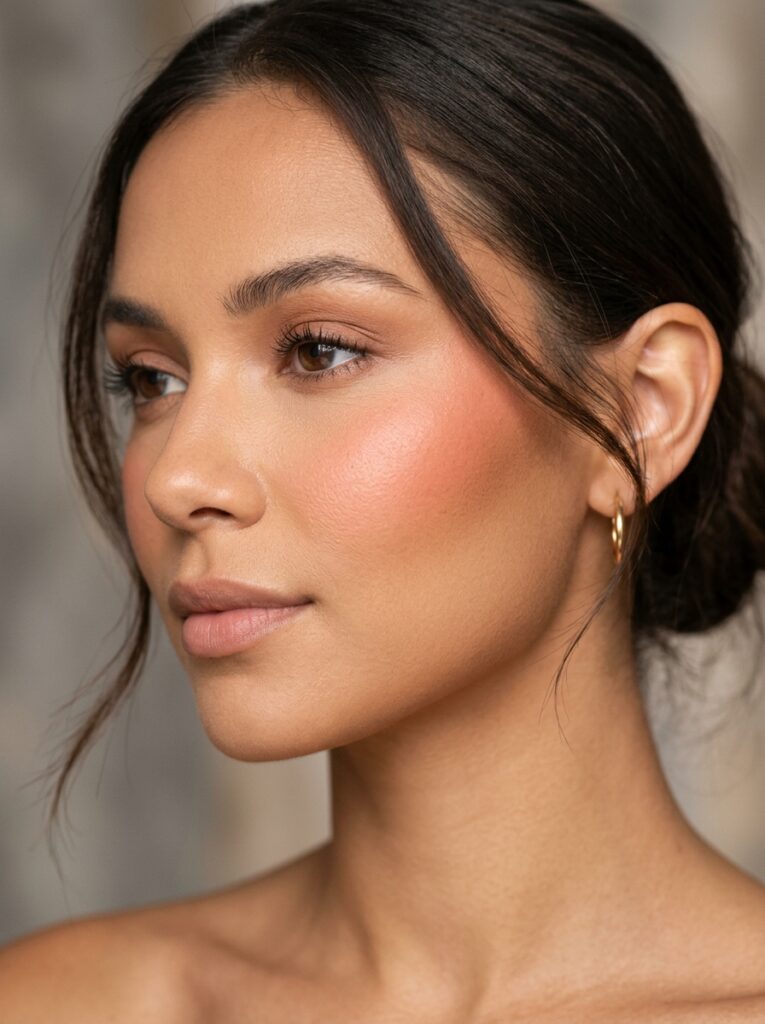
Bronze first to warm the perimeter, then place blush higher on the cheekbone so the two sit in layers rather than fighting. That order matters, because blush underneath bronzer just turns muddy.
Powder over powder blends most cleanly, so a matte powder blush is the safer choice.
19. Blush Under Foundation
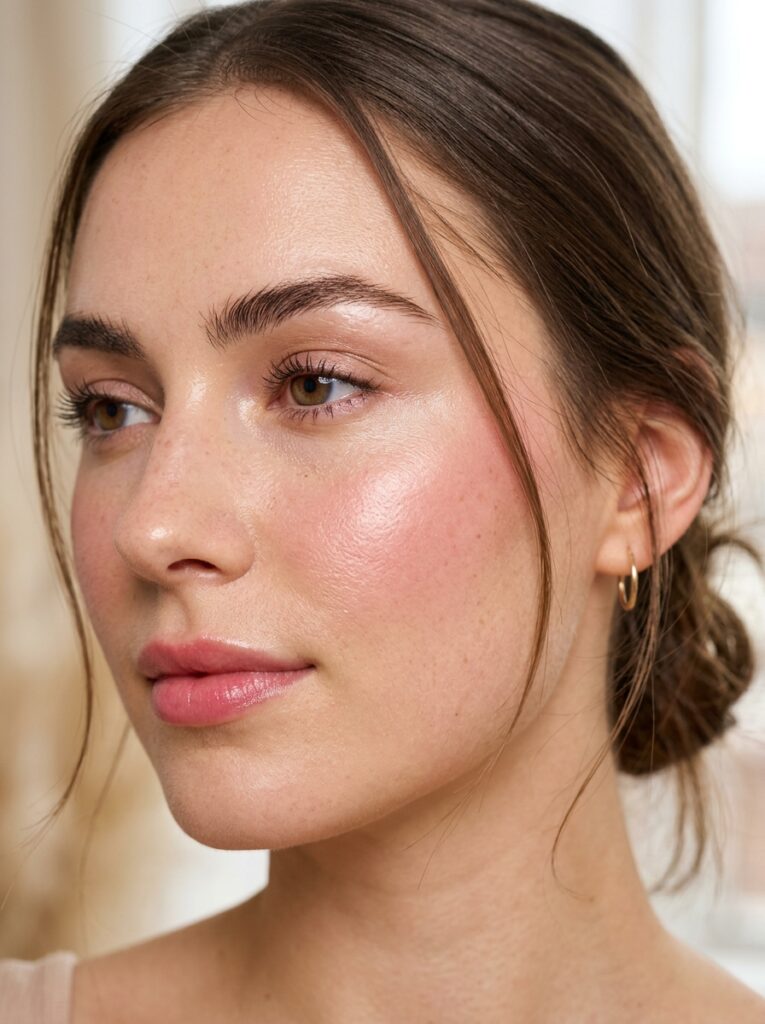
Apply liquid blush directly onto bare skin, then sheer foundation over the top so the color looks like it’s coming from underneath. It’s the most natural flush possible and it lasts noticeably longer.
A pigmented liquid like e.l.f. Camo Liquid Blush survives the layer best!
20. The Full Monochrome
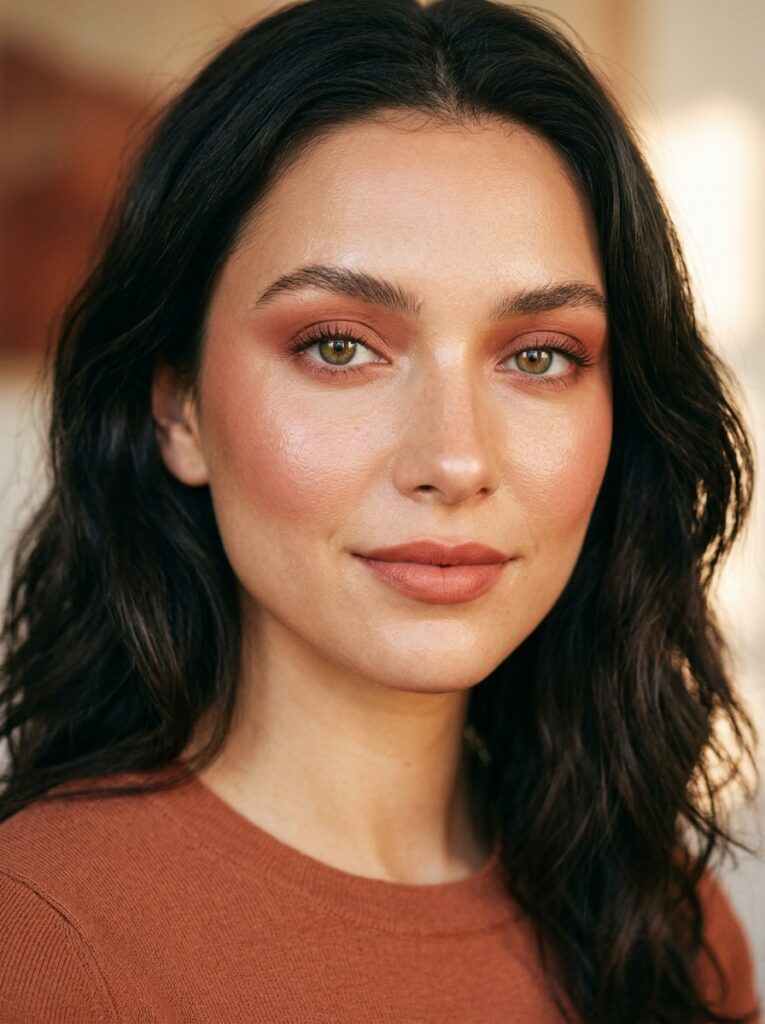
Take one shade across the eyes, cheeks, and lips so the entire face reads as a single tone.
It’s the fastest way to look intentionally styled with one product, and multi-use formulas like e.l.f. Sheer For It Blush Tint were designed for it. Choose a shade close to your natural lip so the look matches.
Conclusion
Blush is the most underestimated product in makeup, purely because everyone treats placement as an afterthought. Moving the same shade an inch higher, extending it toward the ears, or dropping a little on the nose changes how lifted, warm, or awake your whole face looks, all without touching another product.
Test three placements this week before you buy anything new. Try the high cheekbone sweep one day, the under-eye C-shape the next, and draping on a day you have time to blend properly. Once you know which placement suits your face, blush stops being an extra step and starts doing the heaviest lifting in your routine.
Blush Placement Ideas FAQ
Start on the apples of the cheeks and blend upward toward the temple, since that upward direction lifts the face. Higher placement along the cheekbone lifts more, while lower and wider placement softens and widens.
Along the top of the cheekbone and into the temple, above the apples entirely. Because the eye reads the highest point of color as the highest point of the face, keeping blush high creates the most lift.
A diagonal line from mid-cheek toward the outer eyebrow, blended along that angle. The upward diagonal adds length and cuts against roundness, while circular placement on the apples emphasizes width.
Use a sheer liquid formula in a soft C-shape under the eye, curving upward toward the temple, and build slowly. Heavy pigment or downward blending is what creates a tired look, so keep it light and lifted.
Over. Apply bronzer first to warm the perimeter of the face, then place blush higher on the cheekbone. Blush underneath bronzer tends to look muddy, and layering powder over powder blends most cleanly.